Mt. Rainier and Lenticular Clouds - Dec. 2008 copyright: JMM
Showing posts with label egg crafts. Show all posts

February 13, 2016

Paint and Clay

Continuing on with my attempts to knock out a bunch of project ideas, I present 'dragon eggs'.  Made with Sculpey clay on a fake egg, with metal chain, findings and rhinestones embedded in the clay.  It had to be set in the oven for 15 minutes and I was worried that the fake egg inside or the rhinestones would melt but they didn't!  Then I coated each one with glitter paint.


Next up I wanted to try the Galaxy Eggs Tutorial, found HERE.  I love the final results, although it's a project that requires fairly long drying times for each layer.  I bought black chalkboard eggs so that I could eliminate the step where you have to paint a white one black.


This egg has been languishing on my craft table nearly 2 years.  I had the ribbon in it and I was going to drill holes in a design.  So there were pencil dots all over it.  Then I decided I didn't want to and tried to erase the pencil but it wouldn't come off.  All those paint dots are covering the pencil marks.

Last summer my friend Sandy and her family visited the Cape.  They are living in Moscow for a few years for her husband's job, and she brought me a paint-your-own Russian nesting dolls kit.  Of course me being me, I spent a ton of time researching them and all the different painted designs.  I was also afraid that I wouldn't be able to keep the wood burned lines from getting covered with paint. But using a tiny brush and tiny bits of paint, I managed to preserve the outlines.

I saw this design on a Paint Night website and decided to try it on my own, but on a mini canvas.  I'm so happy with it!

Here's another Pinterest project that's been sitting on my 'Crafts to Make: Painting' pinboard for 4 years.  Use masking tape on a canvas, paint the sections and remove the tape.  There was some bleeding under the tape edges, esp. on the green.

Last but not least, since the clay was still out, I made some snails with marbles for shells.  They came out cuter than I was expecting.

It's been a very prolific last month or so for me, artistically.  

March 25, 2013

Somebody Stop Me.....

These are all the eggs I've done thus far....including some that I made a few years ago in Washington (3 in the front row and 2 in the center), plus the 3 silk tie eggs I did last summer in the back row.  The only one missing is the red one I gave to my step daughter.  So pretty. So much work.


But was I satisfied?  Oh no no no.  Why would I be?  Especially when I still had almost a dozen jumbo white eggs left, and I wanted to try decoupaging onto the undyed eggs.  This one is mod podged with blue and purple fibre paper.

I was gonna go a totally different way with this egg till I ran across the fancy 'E' in an ephemera book.  E being for Earle, not egg.  This was very hard to do and very hard get that pearl bead circle even.  Plus I had a major measure fail so that the designs on the front and back are closer to each other on one side than the other.  

This is the other side of it.  I would love to know what percentage of my life is spent waiting for glue to dry.

Meanwhile, I was also making this Ravenclaw-inspired wand for myself.  I left the chopstick wood plain because the wand in Pottermore.com is light coloured pine. I only painted the hot glue part.  

I used a small, blue frosted marble and 2 grey Picasso beads.   The gold metallic thread is supposed to represent the core of unicorn hair.
 Somebody stop me.....

March 23, 2013

Faberge', Schmaberge'

For this blue egg, I spent a great deal of time standing there keeping the bottom submerged so that it would get really dark, then the center and top.  It looks soooo good when it came out of the liquid but did not dry well at all.  I'm definitely gonna keep this one; it's my Ravenclaw egg.  ;-)


This was in the green dye bath for a long time, and dried blotchy  & aqua, too.   All those rhinestones are hiding a multitude of sins.  

Red and purple.  Not generally a fave colour combo but this looks OK.  Maybe someone who belongs to the Red Hat Society would like it. 

This uneven pink streak on the purple egg really proved to be a problem.  The big honkin pink ribbon is hiding a good bit of it, but the pink dyed part is still uneven and creates the optical illusion that the ribbon is crooked.  My rhinestone supply has been significantly depleted.  

This was my last green dyed egg, on which I'd attached that ribbon and then had second thoughts about it. Despite my best efforts to peel it off carefully, the shell came with it so I just wrote it off as a loss.  

Imagine my surprise to see that the inside of the shell had dyed a beautiful shade of green and was nice and even!!!  I wonder why that happened?  It looks so incredibly GOOD inside.  Maybe next year I will see what happens to the insides of the eggs once they are dyed, and then a section opened up for an interior scene.  If I'd known the green was going to look this good I would have tried to make something with it.
 Sick of eggs yet?

March 21, 2013

The Yolk's on You, Egghead

I had 3 PAAS egg colouring kits, so I used 3 dye tablets per bowl, mixed with vinegar and not as much water as was called for.  The green always comes out aqua, and purple has always been their problem child because it never coats evenly, which is too bad because the purple parts are beautifully rich.  I've also had trouble with the blue.  The red, orange & yellow have always been their best dyes.  (This year the orange was sacrificed for a marbelized technique that didn't work, as seen below).


I was trying some different techniques again, by staying away from the pastel colours.  This red and black one is the re-used shaving cream swirl egg. The red dye coated it beautifully; it looks painted doesn't it?  I made this with my stepdaughter in mind, so I gave it to her.  She liked it a lot. :)


This yellow one is a little blotchy because it was originally orange with melted butter swirled in the dye to try and create a marbelized pattern. It didn't work that well at all, and the butter clung to, and hardened, on the shell. When I washed it off, nearly all the orange dye went with it.  So I dunked it in yellow for awhile. Oh, and a word on dying a blown egg.  It ain't easy.  They float of course so it's extremely hard to get an even coat around the egg without constantly turning it.  I even tried weighing it down by letting the egg fill with as much of the dye water as possible to sink it. That only worked to keep it half submerged.  So then I tried to keep it down with a spoon, that also had to be weighted down because the egg popped out of the spoon very easily.  It was quite the scene in my kitchen that day....I made a humongous mess.

This was another Pinterest idea, to use round glue dots and glitter.  I had the glue dots, but for some reason I had a problem with some of the adhesive surface because the glitter would not stick to it no matter how much I dumped and pressed it in.  It's OK....not a fave but at least I can say I tried it.  It doesn't look too bad from a distance.  If you try this, have a dry craft paint brush to brush the excess off the egg.  It works way better than trying to do it with your fingers.  The glitter will stick to your fingers, not the paint brush.

The other idea I saw was to glitter the entire egg, but I didn't have enough of any colour that would have thickly coated the egg, so I used Terrifically Tacky Tape on the center with multicolour glitter, and more rhinestones.

Even more to come.

March 19, 2013

It's No Yolk!

It's that time of year again...time for Egg Crafts!!!  In preparation, I'd been buying and blowing jumbo white eggs for about 2 weeks.  If I wanted scrambled eggs or to make a cake, I blew out 2-3 eggs and used the contents for my cooking, while rinsing the hollowed out shells.  Out of a dozen I was successful with 10, and planned to use one that cracked in the center for a scene.  

I've been meaning to try this for awhile.  Hardboil the eggs first and then tap them all over to crack the shell.  I'd seen two different techniques for the dying, and I tried them both.  The blue was made by putting it in a colandar and dripping blue dye all over it and making sure it ran into the cracks.  Rinsed it off with cold water, dried it as best I could, then began carefully peeling the shells off.  It takes time and a great deal of patience.  The red one was put back into a pot of water that had the food dye mixed in and boiled a few minutes more.  I helped this along by also dripping red dye directly on the shells.  Rinse with cold water and peel carefully.  

There I was, happily sticking rhinestones on this blown egg, thinking 'eat your heart out, Faberge', when I got to the top, pressed too hard and punched right through the shell.  This was the end result of 90 minutes of precision sticking.  I wanted to cry.  Note to self: dye the shell next time, don't leave it white.

Sooooo, I was whining on Facebook about my poor broken egg.  As usual, someone came through for me, my longtime friend Doobie suggested I try patching the hole with white paper.  BRILLIANT!!!  I had to make the hole bigger and remove all the caved in pieces and rhinestones.  I painted a coat of superglue inside the egg and all around the part of the shell that was still showing on the outside. Then started gluing bits of white card stock on and letting it dry.  The next day I reapplied all the rhinestones.  This is the shattered hole area, all redone.  It's not perfect of course, but at least it worked!!


This was the egg that got broken on the side.  I coated the inside with mod podge first.  Then I painted the shell with pink acrylic paint.  It took four coats to finally look completely covered and not streaky. The chick toy was adhered to the inside with E6000, and used white glue to adhere the fuzzy green ribbon "grass" around the bottom.  

Next, I had to make a ribbon hanger loop so that got glued to the top w/ E6000, then I glued ric rac to the edge and punctuated the curves with rhinestones.  Then I painted a coat of mod podge over the pink paint and let that dry, before adding the back ribbon and rhinestones. 


This one was made by putting shaving cream on a dish and swirling food dye into it, then rolling the egg in the cream and wiping or rinsing the cream off.  It was supposed to look marbled but doesn't really.

More to come.

September 28, 2012

Silk Tie Egg Dye

Been meaning to try yet another Pinterest craft idea:  Silk tie egg dying.

So off to the thrift shop I went, in search of some cheap men's ties and lucked out to get 2 with great, small patterns.  They have to be 100% silk. 


First you disassemble the tie.  I only used the large, lower part.  I saved the top part for something else I wanna try. 

Because I wanted to save the dyed eggs, it was necessary to blow the yolks out.  I like to carefully work an awl into the top and bottom of the egg because it's long enough to puncture the yolk sac.  I was pretty lucky  in that all 3 eggs didn't break apart, like I've had happen in the past.

Gooey.

Grody.  I suppose it's wasteful to throw out the blown yolks; I could have scrambled them and made breakfast, but I didn't.  When they were empty, they were rinsed and then left to drain and dry for a few hours.

Next wrap the tie fabric around the eggs, pattern-side/front-of-tie against the egg, and seal with a twistie.  Again, I had to use a pretty gentle touch to keep the eggs from breaking!  Because of that, I couldn't pull the fabric as tight as I would have liked.

Next, wrap some plain fabric around them.  I used an old pillowcase.  And more twisties. 

Fill a pot with water and 1/4 cup of vinegar.

Place the eggs in and boil for 20 minutes.  I knew that I was going to have a problem with the fact that they were going to float because they were empty.  So I ended up using a spoon to try and keep them turning and submerged as much as possible.  The eggs filled up with water a little bit, so that helped weight them down, too.  

I don't have any pictures of the eggs after they were removed from the water because I was just too excited for the 'reveal'.  I simply couldn't wait for them to drain and cool on their own.  I burned my fingers a little bit taking the fabric off, and then I had to blow the hot water out of the eggs too. Here's the end result.  


If I do this again, I will use more fabric because a lot of it didn't end up touching the egg so there's white shell showing in places.  I'd also like to figure out a way to keep the hollow eggs from floating.

April 5, 2010

If At First You Don't Succeed.....

Because I refuse to be bested by a bunch of eggs!!! It's that whole "Sagittarius-Year-of-the-Dragon" stubbornness thang.


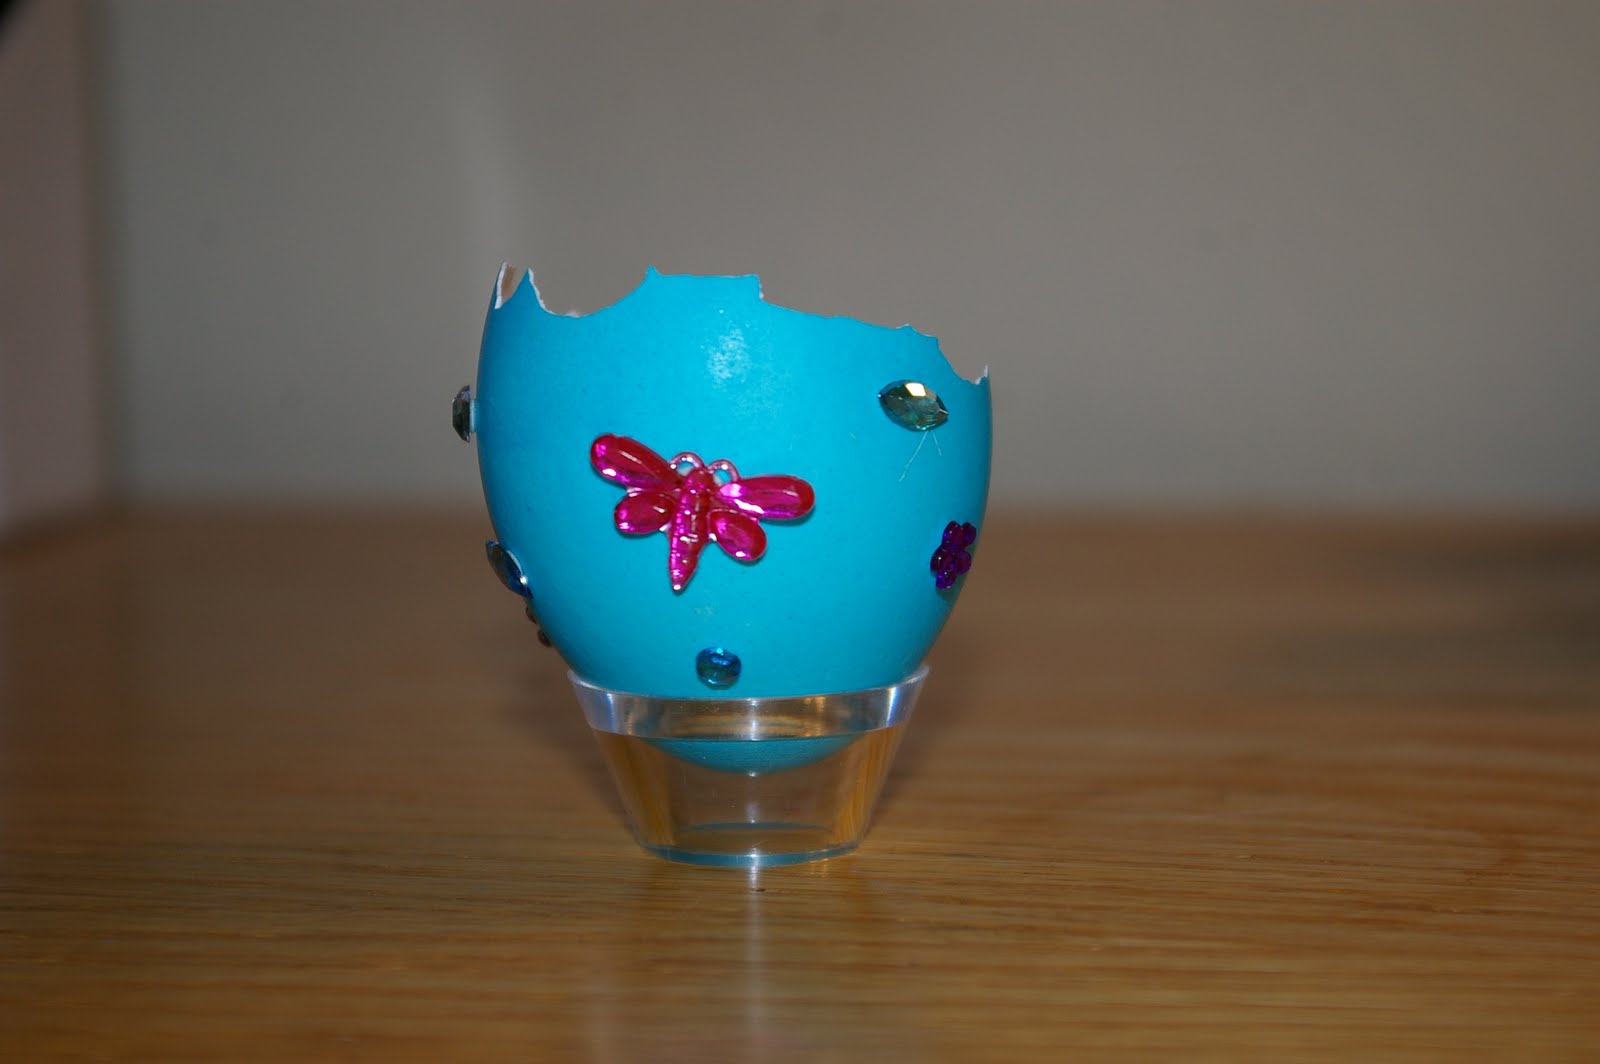
Remember the robins-egg blue whose side blew out like Mount St. Helens?

Now it holds a happy little chick, tiny silk flower and 'eggs', which are actually candy-covered sunflower seeds (and which are quite tasty too, I might add).


And the purple egg, into whose shell I plunged my finger before I even drilled the holes?

It's the Easter bunny!!
When I showed this hot pink one to Brian, he laughed and said "Is this for your bordello? I mean, it just screams "Whorehouse"..."
It doesn't quite hang straight unfortunately. I was having issues getting the ribbons to set right.
Top view.
The orange egg also had a huge crack in it, so I covered it with ribbon. I found the crystal strips in fall colours, so I used those too.
Now it's a Halloween egg.


And then there was the midnight blue egg that cracked down both sides with smudged dye.
Nothing that a little ribbon can't hide!
Now it's a celestial-themed egg!


Finally, I also used the Dudley Tie Dye kit on 4 hardboiled eggs I had in the fridge. Dudley brand dye kits have never been very good, and certainly not as good as PAAS. The technique worked so-so.
But they are still pretty and the glitter makes them all sparkly.
I still have 4 hollowed-out eggs left to decorate. But since they won't go bad, I don't have to kill myself to get them decorated. It's just nice to know that this craft project didn't conquer me, I conquered it!