Mt. Rainier and Lenticular Clouds - Dec. 2008 copyright: JMM
Showing posts with label January 2013. Show all posts

February 21, 2013

Redemption

I used to belong to a few Craft Kit of the Month Clubs back in Washington.  I love them because they send you everything you need to try a new craft, and it's really inexpensive - around $16 a month.  It's a lot of fun to try new techniques and I've had a lot of success with them but a few have been duds.

I got this one a few years ago.  The birdhouse was, thankfully, all assembled.  This project was just painting and adding the flower and butterfly rub-ons, and sticking the chimes to the bottom.  I remember not having a good time with this, and there wasn't enough paint to really adequately cover the whole surface.

When it came to adhering the chimes to the bottom, I encountered a great deal of trouble.  Nothing would work.  I finally decided to use Gorilla Glue.  That stuff is amazing, it really, truly is a strong adhesive.  But for the annoying problem of the foaming up as it dries.  I used too much glue, and the foam lifted the chime base right of the bottom of the birdhouse.  It was stuck on permanently, but it looked really messed up.  I made it worse by trying to paint the foam green like the base.  

God this thing looked like shit.  I think I donated it to the Goodwill when I was packing to move east.

I was solicited to join the club again, and it looked like they had a lot of new projects, as well as a couple of the old ones.  Imagine my dismay when the birdhouse chimes showed up as my first kit.  I was disappointed and almost sent it back.  But I thought I'd try it again, now that I have an arsenal of better adhesives.  So I opened it and guess what?  The paint was completely dry.  That's OK, I'll just use my own in the same colour palette, but brighter shades.  Once I added the dots and squiggles, it really looked 100% better than the first time I did it.

Then I did the rub-ons and glued the pre-painted birdie on the base.


This time I used E6000 to glue the chimes to the bottom.  They are centered, it just doesn't look that way in this pic.
Redeemed!

February 11, 2013

Pin Win: Button Ball

I thought this was a cute project for buttons on a styrafoam ball.  

Of course my version just had to be psychedelic and splashed with every colour of the rainbow.

Tie dye ribbon even!


February 3, 2013

Cruel Irony

We had a couple of mild days in January, but for the fact that the wind was blowing really hard.  Annoyingly hard.  I wanted to look for glass so I went to Buttermilk Bay Beach hoping that I'd find something that was actually worn down, but it was almost all fresh.  This is the cruel irony about that beach:  It's full of glass.  It's all over the place.  But because it doesn't get any wave action, except for the high and low tides, the glass will never ever wear down, at least not in this lifetime.  I found a few pieces that were scratched, and for the most part none of these edges were sharp enough to cut me so that's why I took them home.  There's a large chunk of some kind of crockery that's brown on one side and white on the other. I also found a very rusty spoon but I don't think it can be saved.  Those yellowish shards on the right are textured.  


So are two of the white pieces.


January 30, 2013

January 24, 2013

Pin Win: Chopstick Wands

The Pinstrosity Blog  is hosting a challenge, to celebrate their first anniversary.  From January 19 through February 19, we're encouraged to make and post Pinterest projects, whether they are Wins or Fails.  There are some prizes available for winners, and you can enter as many as you want.   

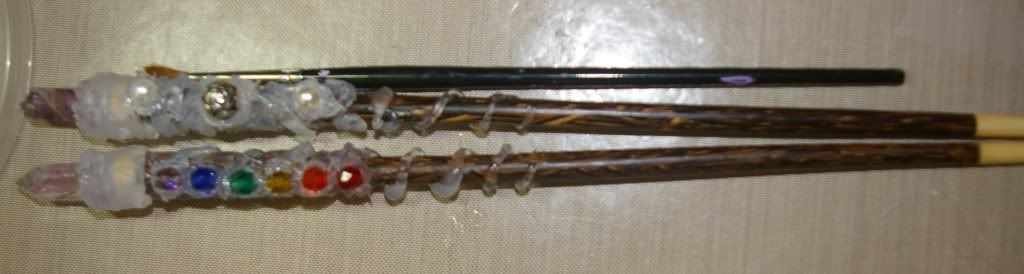
Here's a Pinterest project for wands using chopsticks and hot glue.  The instructions mentioned using beads stuck in the glue, and then when the glue was cool and dry, paint over all of it for texture.  I just couldn't bring myself to paint over the beads.  This is what the wands looked like prior to painting.  I also decided to put some fluorite crystal points on the tops.  You basically just dribble hot glue all over the top of the chopstick and when it cools down a little bit, you can shape it a little bit with your hands.


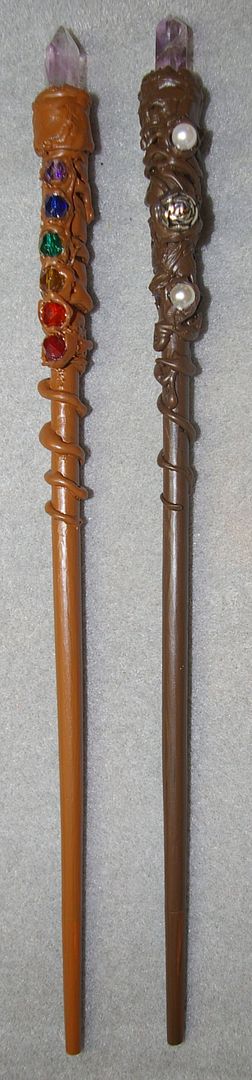
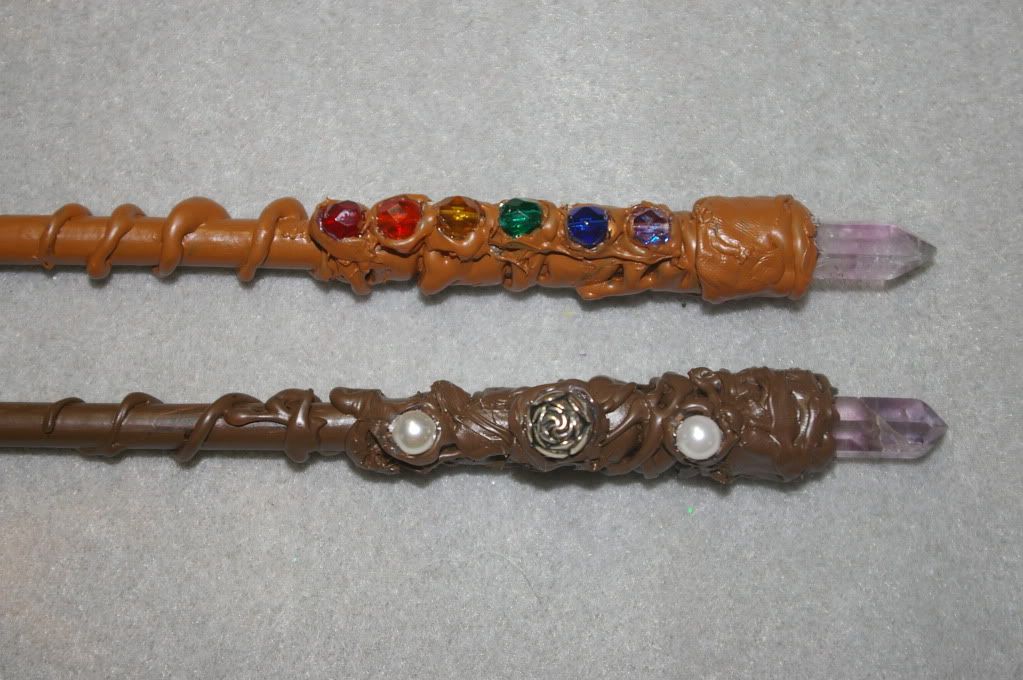
Here are the wands after the paint was dry.  I admit, I'm pretty impressed with how fast and easy they were to make, even using my nemesis:  hot glue.  

I'll have to get more chopsticks because I have so many ideas!

January 14, 2013

More Dream Catchers

To say that 2013 has started off with some challenges would be an understatement, and that goes for the crafts I've been working on.  It's not just me; a lot of my friends are complaining that their lives aren't going very well either.  Someone asked if Mercury was retrograde again.  

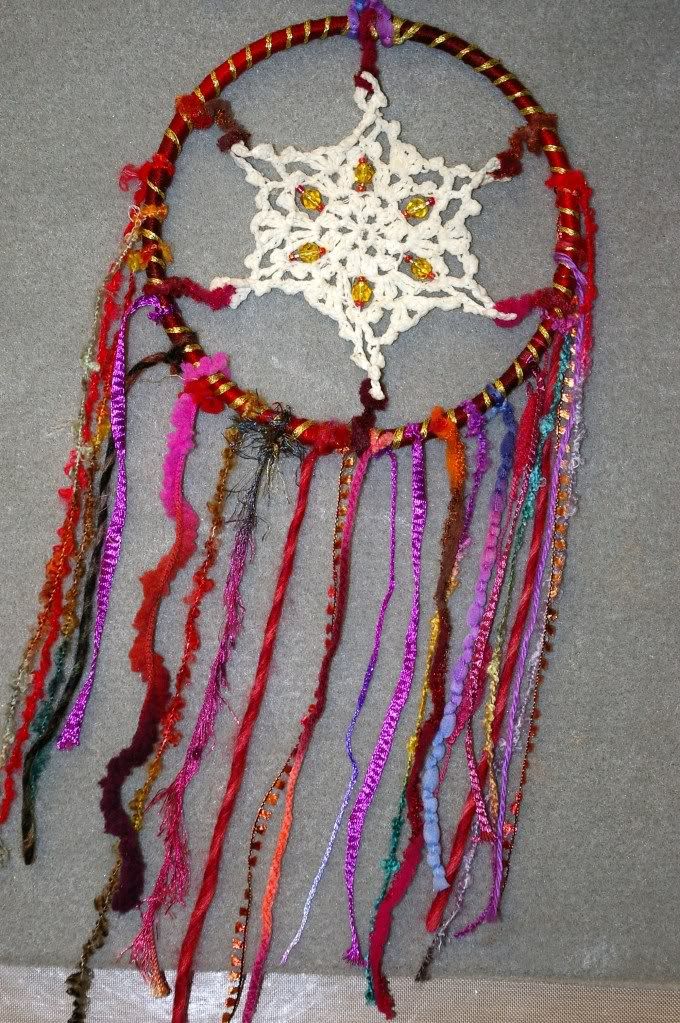
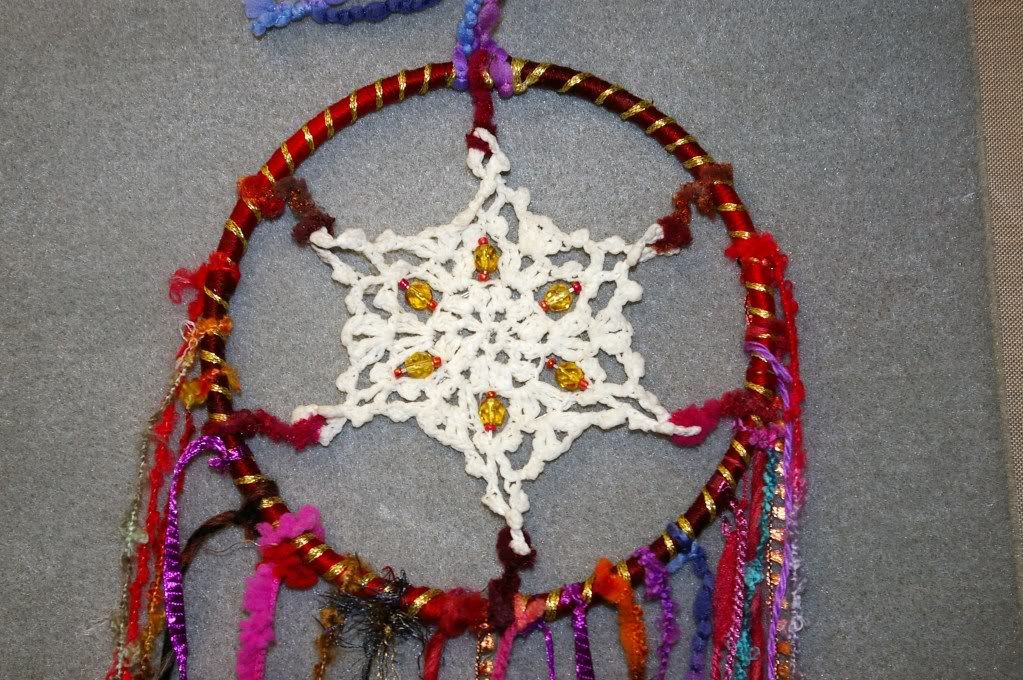
Here's another dream catcher using one of the crocheted snowflakes.  


The intent was to attach it to that hoop with beads like the other one.  BTW, I wrapped the hoop with red gradiated floss with gold on top literally years ago; at least 6 or 7.  I've been trying to finish some of the projects that I started and abandoned. I managed to get one beaded loop on and it was not going well at all. Not even a little bit.  So I decided to tie them on with some pretty fibres that my friend Rhonda sent me.  Every single fibre ripped.  I guess the starch inside the loop made the crochet very sharp. I finally settled on a thick fibre strand to tie them, and then dabbed glue on the knots.  I remain skeptical as to their structural integrity over time.


After that I just tied on a bunch of the different fibres that came in the bundle.  

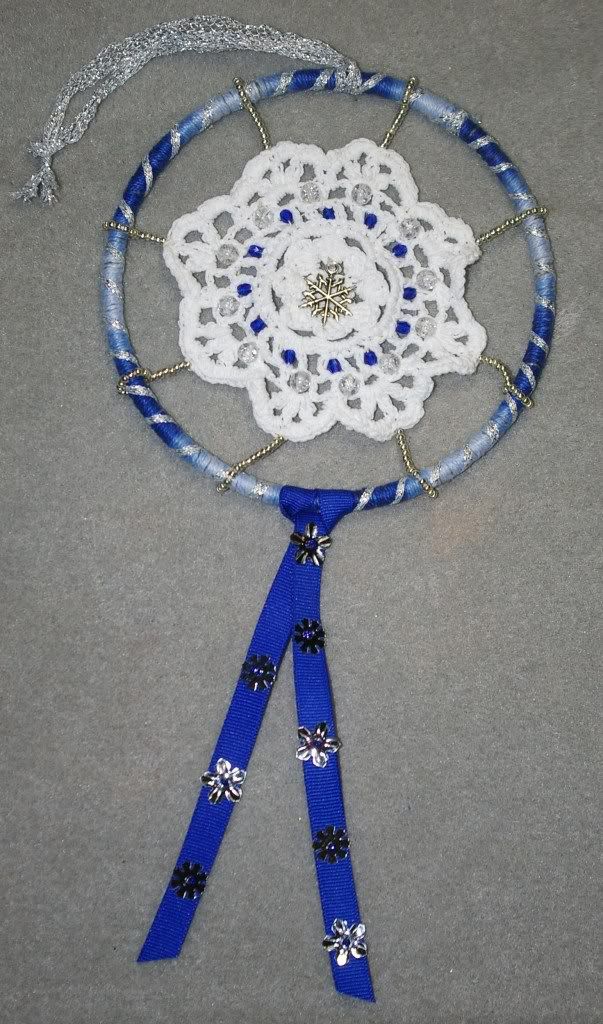
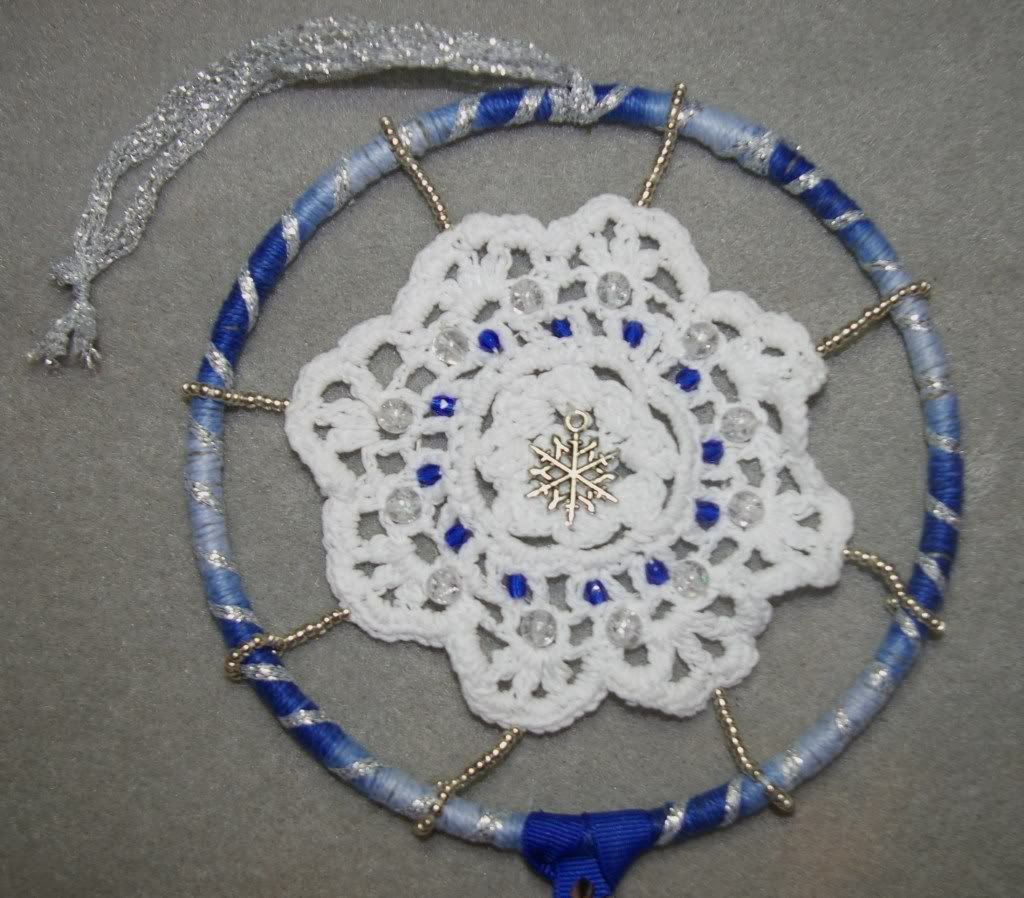
Keeping up with the Works in Progress, I finally used the last metal ring I bought years ago to make one final doily dreamcatcher.  I was waiting for the paint to dry on another project, so I started wrapping the ring with synthetic sinew and floss.  

Initially this was going to be a celestial-themed dream catcher.  I had a moon in the center, but it just didn't seem to look right.  I saw a snowflake charm in the pile I'd dumped out on the table, and loved how that looked instead.  Then I sewed the crystal beads into the spaces and attached the doily to the ring with silver beads.  I finally had the brainstorm to use twisties to temporarily hold the doily in place in the center of the ring so that I could sew the bead loops on.  It only took me 3 of these to finally think of that solution....

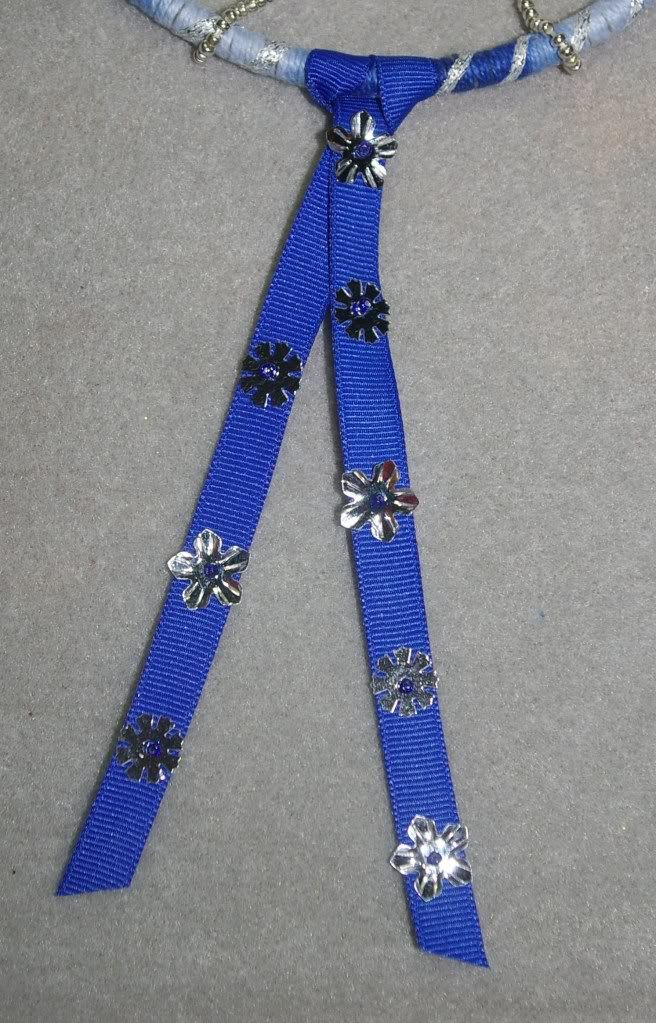
Sewed some snowflake sequins w/ blue seed beads on blue ribbon for the bottom hanging part.

January 12, 2013

Never. Again.

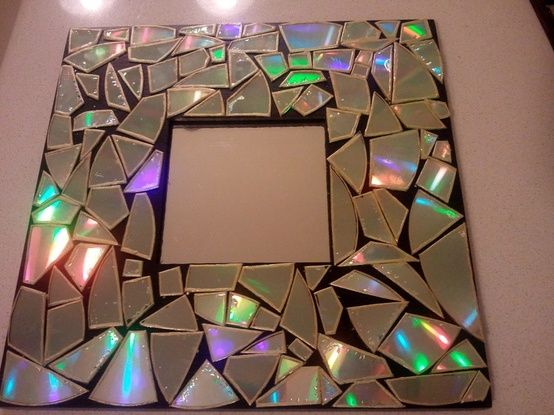
Continuing my neverending quest to actually do the craft projects I've pinned on Pinterest, I wanted to try what looked like a really sinchy project.  Break up some CDs and stick 'em on a frame.  This is the original pin pic, from which I worked.

As I've mentioned previously, I will no longer be shooting my projects being created.  But I started with a plain wood frame, and painted it black.  My black paint, for some reason, had the consistency of tar.  I was so eager to forge ahead that I tried to make due with it as it was.  Surprisingly, it did not occur to me to dilute it a little bit with water.  Probably because I was too eager to forge ahead and got tunnel vision.  When the paint dried, it looked horrible.  I attempted to sand down the uneven clumps, with poor results.  I then gave it a new coat with the diluted black paint, but it didn't do much to hide the imperfections.  I figured that was OK, it's going to be covered with CD bits so I'll just make sure only the decent black parts show.  I sealed the paint with some mod podge.

Now it was time to break the CDs.  I first used a couple blank Memorex writable discs.  This was the next disaster.  The CDs are very hard to break, very sharp once broken, and the silver starts to flake off in chunks.  WTF?!?!?!  Then I dug through some unknown movie discs that the hubby had, unopened promotional copies that didn't look the least bit interesting anyway (i.e., 'chick flicks').   Those wouldn't snap at all unless I bent them back and forth a half dozen times.  Then the discs separated, leaving me with one that was tinted dark, but clear, and then the not-so-good looking silver piece.  By this time I'm ready to scream, but I moved forward, gluing pieces on the frame, getting glue fingerprints all over the silver pieces and muttering a constant stream of obscenities under my breath.

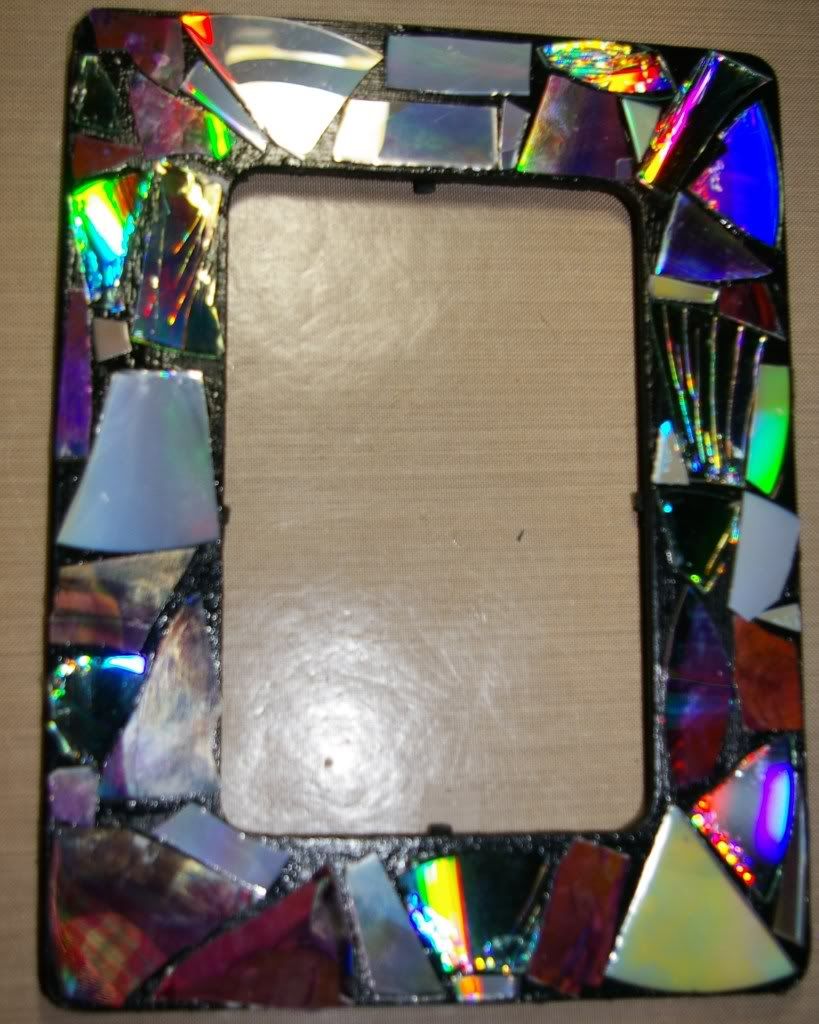
This is the end result.  It Looks. Like. Shit.  You can still see the black paint glops, you can totally tell the difference between the flaky Memorex CDs and the dull silver of the movie DVDs.  I just don't care.  My friend and fellow Vincent Vixen, Ducky, said she loved it. I asked her if she wanted it and she said yes so it now resides at her house in Minnesota.  Russell pointed out how you can see the reflection of my red plaid flannel jammies in some of the bits, esp. the bottom left corner.  Nice.  


I wouldn't call it an epic fail, but I also didn't have fun working on it either, so from that standpoint it's a fail.  Another one of a kind, never to be made again.