Mt. Rainier and Lenticular Clouds - Dec. 2008 copyright: JMM

April 5, 2010

If At First You Don't Succeed.....

Because I refuse to be bested by a bunch of eggs!!! It's that whole "Sagittarius-Year-of-the-Dragon" stubbornness thang.


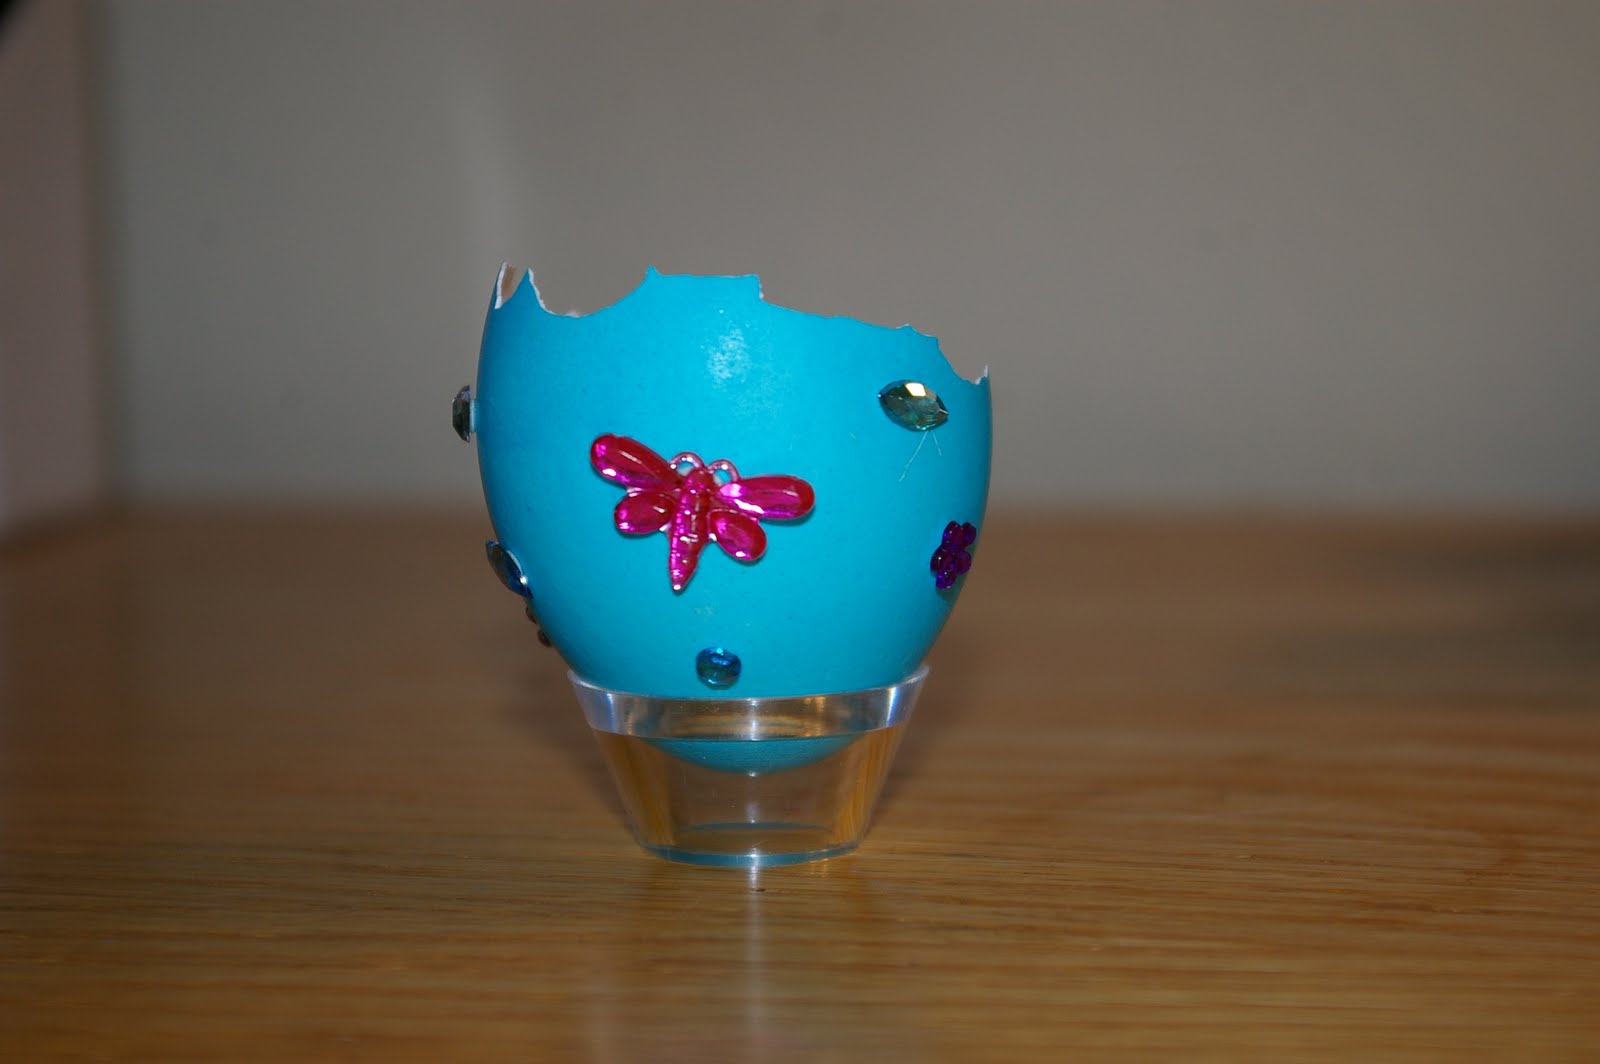
Remember the robins-egg blue whose side blew out like Mount St. Helens?

Now it holds a happy little chick, tiny silk flower and 'eggs', which are actually candy-covered sunflower seeds (and which are quite tasty too, I might add).


And the purple egg, into whose shell I plunged my finger before I even drilled the holes?

It's the Easter bunny!!
When I showed this hot pink one to Brian, he laughed and said "Is this for your bordello? I mean, it just screams "Whorehouse"..."
It doesn't quite hang straight unfortunately. I was having issues getting the ribbons to set right.
Top view.
The orange egg also had a huge crack in it, so I covered it with ribbon. I found the crystal strips in fall colours, so I used those too.
Now it's a Halloween egg.


And then there was the midnight blue egg that cracked down both sides with smudged dye.
Nothing that a little ribbon can't hide!
Now it's a celestial-themed egg!


Finally, I also used the Dudley Tie Dye kit on 4 hardboiled eggs I had in the fridge. Dudley brand dye kits have never been very good, and certainly not as good as PAAS. The technique worked so-so.
But they are still pretty and the glitter makes them all sparkly.
I still have 4 hollowed-out eggs left to decorate. But since they won't go bad, I don't have to kill myself to get them decorated. It's just nice to know that this craft project didn't conquer me, I conquered it!

April 3, 2010

Custom Jewelry, By Request

One of my bffs, Ellen, was looking thru my Tahoma Beadworks photo album on Facebook and saw the sports logo hairpieces I did for the teams that I follow. This is the San Francisco 49ers.

Tacoma Rainiers baseball.

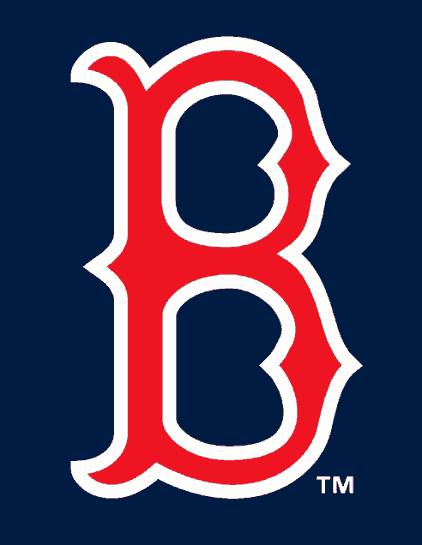
She commented that she'd love it if I made her a Boston Red Sox logo hairpiece. As a longtime Sox fan, I seized on the idea. I decided that, since the Sox in the baseball would be a little too technically difficult, and since I wanted to get it to her at the beginning of the baseball season rather than spending weeks trying to get it right...

..... I opted to use the Red and White "B" against a midnight blue field, like on their ball caps.
I first shrunk the logo down to a manageable size, on the copier at work. Then I half traced, half sketched it onto a red felt background. This is actually the hardest part of the process, b/c felt is very hard to write on. Normally I bead on white felt, but this being the Red Sox, I wanted there to be flashes of red behind the blue. The beads get sewn onto the felt, but the felt must also be backed with a bit of paper, and I get the best results with brown grocery bags.

I printed off the Sox logo in colour and took it with me to Bead Boppers in Puyallup to match the blue. I was walking really slowly in front of the Japanese delica beads holding out the paper. The shopkeep asked if she could help me find something and I told her I was just trying to match a shade of blue. She came over to help me and I showed her the "B" and said, "I'm making a Red Sox hairpiece for a friend." She looks at me, grins and goes, "Oh. I am a Yankees fan." Now, I cannot emphasize enough the animosity between these two ball clubs. And their fans. So I fired back, "OH NO! I can never shop here again!"

Once I started beading, it went very quickly. I did the "B" last weekend, and it only took a couple of lunch breaks during the week, and about 2 hours this afternoon to finish the blue background. I cut a circle of leather and both sewed and glued a French clip to the right side of the leather. After the glue set for a bit, I glued the leather to the paper backed beaded piece.

It's going out in the mail on Monday. I hope she likes it!

March 31, 2010

The Craft That Went Horribly Awry....

A few weeks ago, I got a notification from Artbeads.com of a free egg project. The eggs looked stunning and the directions are really easy. You just dye the unboiled eggs, blow them out, decorate with self-adhesive crystals & ribbon, and voila! Gorgeous eggs abound!!
So I went to Fred Meyer and bought a couple of classic PAAS egg dye kits, because if one dye tablet is good, then 2 are better. PAAS has been an egg dying staple in American homes for generations.
And because I'm easily attracted to sparkly, colourful things, this Dudley's Tie Dye kit caught my eye and I bought that too, but I haven't used it yet.

Since Steve is out of town on spring break, he surprised Deb and I by giving us a day off this week. Hers was yesterday and mine was today. What a perfect opportunity to work on this project! I lovingly set out all my stuff - egg cups, glues, crystals, dye kits, eggs....

Step one, put 3 Tablespoons of white vinegar in each cup w/ the dye tablets.
Ooooooh! Fizzy!!!!

Once the tablets are dissolved, pour a 1/2 cup of water into each dye cup. I had to recruit some of my coffee mugs to accommodate all the colours.
Submerge the eggs, carefully, because they aren't hardboiled. It's easier to dye unblown eggs because once they are empty, they float.
The longer you leave the eggs in, the darker the dye gets.
Here's a half n half egg: Yellow and hot pink.
Puppy-helper.
Pretty, vibrant colour!!!
Now that the eggs are all dry, it's time to set up to blow out the stuff.
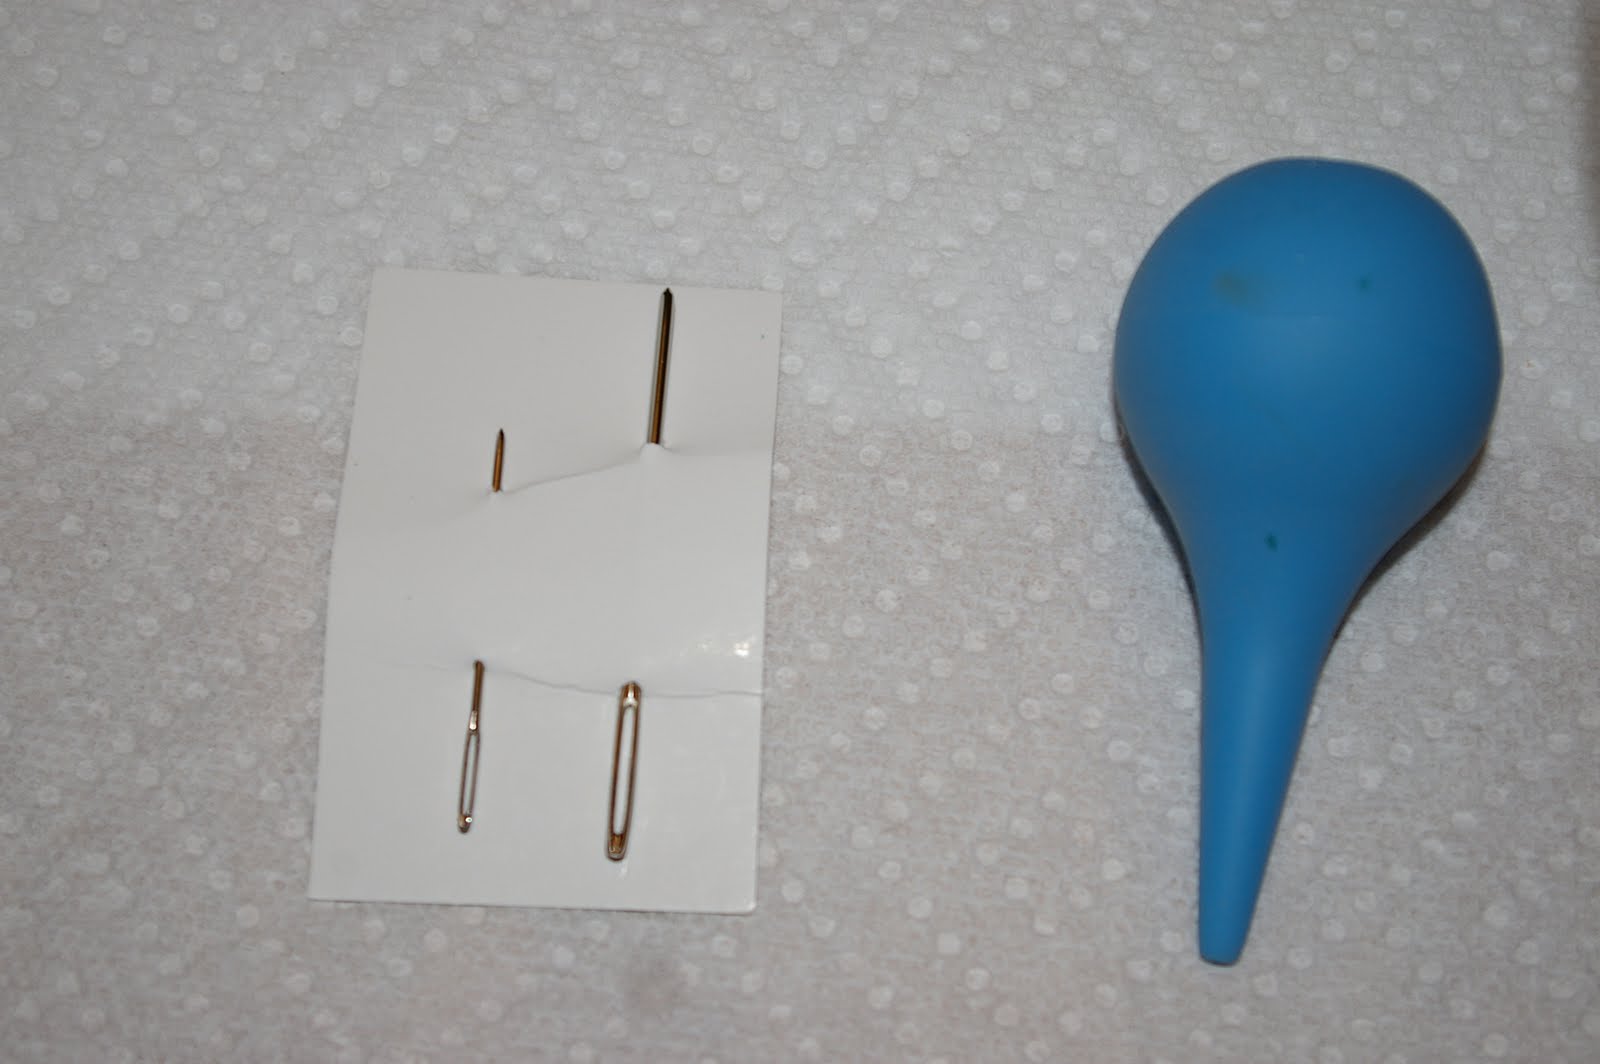
I ended up using an awl to poke the holes in the top and bottom of the shells. Then I carefully worked these needles inside to widen the holes. Unfortunately, the shell around the hole tended to crack. Back in the old days, we would blow the eggs with our mouths, but as that's a great way to get salmonella, I read on line that the bulb from an ear wax cleaning kit would work well.
I started with the orange egg. The shell cracked around one of the holes so I used some white glue and waited for it to dry. I got the smaller needle in and poked/stirred the yolk. Then I started using the bulb on the top hole, to blow out the stuff. Well, I squeezed a bit too hard and the egg cracked all down the side and started to pour out. Crap. Somehow I managed to keep the egg from shattering and got all the goo out. I applied a thin layer of glue on the crack line and left it to dry.

OK, let's try the dark blue egg. I got the holes made with no trouble, poked the yolk, and was much more gentle with the bulb. Things were going well, but I swear this had to be a 2-yolk egg. It wouldn't stop coming out. And was so dense that this egg cracked on the side, so I applied the glue again. But now the dye is all washed away from the cracked area. I think I can salvage them with strategically-placed ribbon.

Now I start to work on the gorgeous sky blue egg. I just start to use the bulb and the whole side of the egg blew completely out. Just like Mount St. Helens. I yelled, 'GODDAMMIT!' so loud that Brian heard me all the way downstairs and over the TV. He came up to see how it was going and couldn't believe the trouble I was having!!!

I picked up the purple egg and was holding it gently...at least I thought I was holding it gently.... and my finger goes right through the blasted shell!!! WTF?? I mean seriously!

Here's the carnage in all it's colourful glory.

I have an idea of how to use the eggs with the gaping holes. But for now, the rest have gone back into the fridge, till I can figure out a better way to get the yolk out of the shells without the sides blowing out. I know there is an egg blowing tool out there, and hopefully Michael's will have one. Aw darnsy. I have to go to the craft store! I'm all broken up about it. Kind of like the eggs.

March 27, 2010

10 Years in the Making

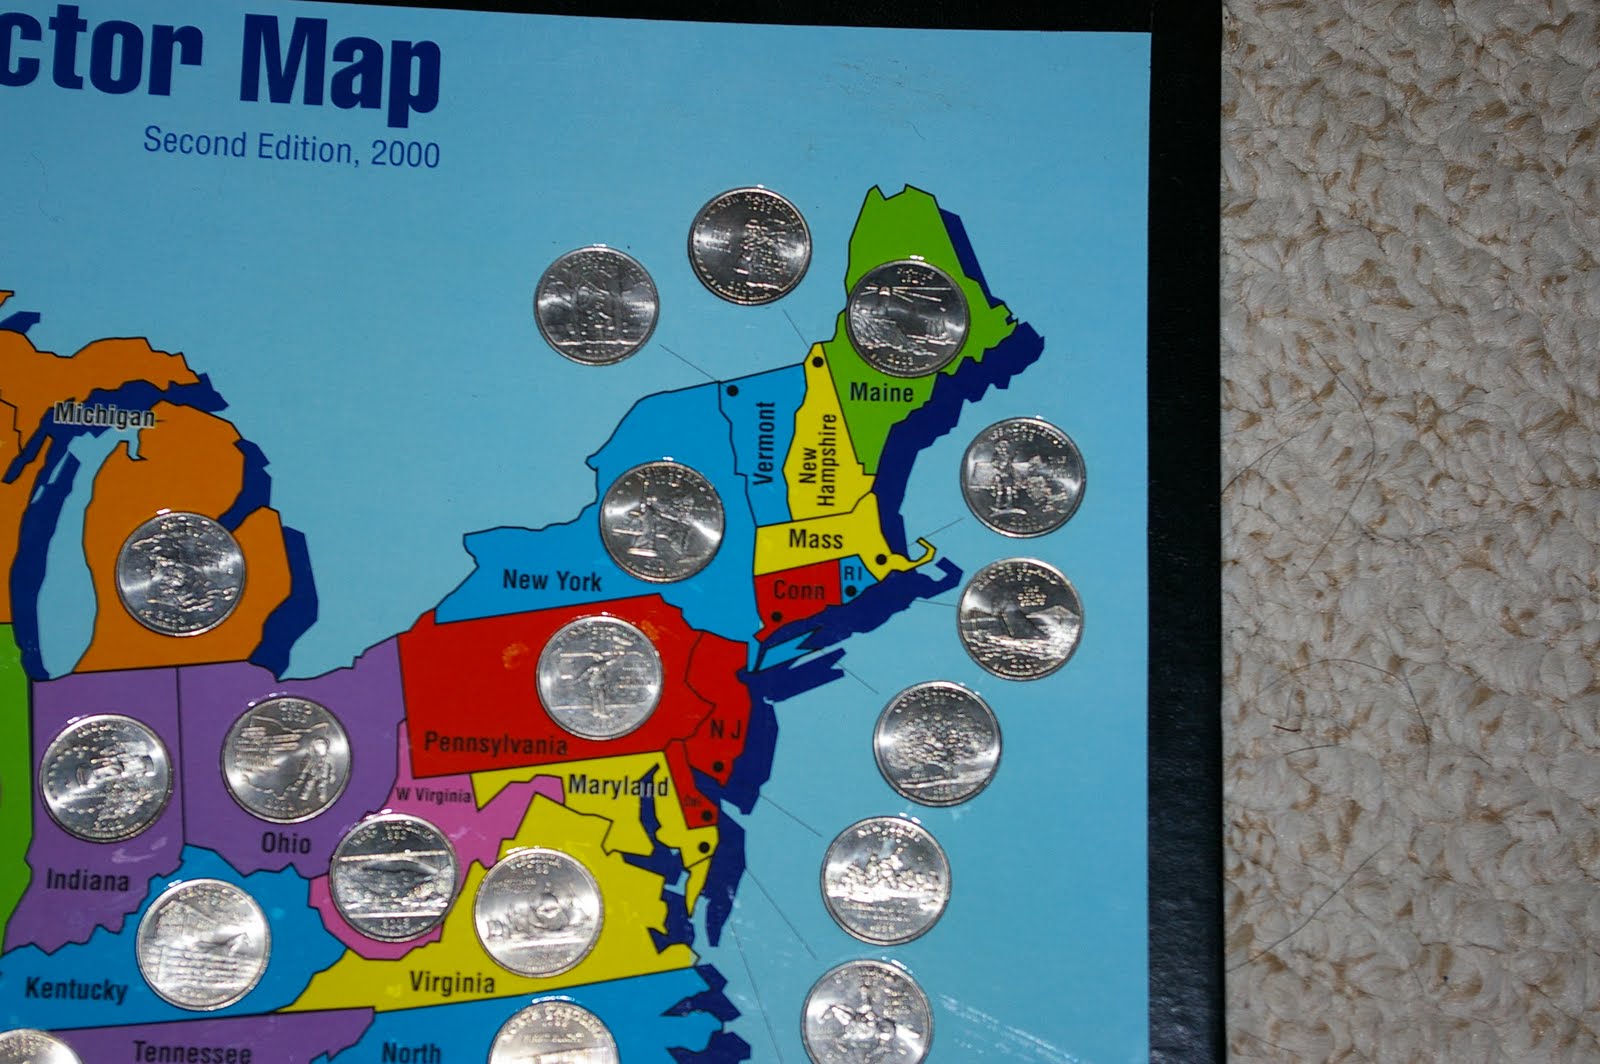
Back in 1999, the United States Mint began printing 5 "State" quarters, per year, in the order that they were admitted to the Union. We were still living in California when it started. At first I wasn't going to cave in to the collection craze, but eventually gave in and bought the map. I also have a book that has room for both the Denver and Philadelphia minted coins. Michelle and I have been trading "P" and "D" mint-marked state quarters since '99. The last state quarters were distributed last year, although I have now seen quarters for places like American Samoa and other minor Southern Pacific territories under US control. But there's no room for those extra quarters on the map.

The 13 colonies were the first to be issued.
Here's my home state, Massachusetts


Washington was one of the last to be admitted as a state. The Pacific NW was part of the Louisiana Purchase, and explored by Lewis & Clark. It was eventually called Washington Territory. I heard that the state was almost named Columbia, after the river.

Tons of designs were submitted for our quarter, many by children, and everyone in the state got to vote on their fave design. When the pictures were printed in the newspaper, I found it amazingly adorable how the designs from the children in Western Washington centered on Mt. Rainier, salmon, Space Needle, NW Indian-style orcas and evergreen trees, but the designs from the children in Eastern Washington showed apples, agriculture, the Grand Coulee Dam and salmon.


The designs were narrowed to 3 and the one we voted for won.


March 26, 2010

The Perfect End to a Perfect Day

You have no idea how rare it is to get this kind of clear weather on the Washington coast at any time of year, much less in March. What a treat!


Boats in the distance.


I'll be back.

March 24, 2010

Ruby Beach

This is a place where I will return. Ruby Beach is amazing. I felt all the stress melt away as I meandered along the shoreline, hunting for pretty stones and breathing in the sweet sea air, ever mindful of the boiling ocean. I miss being near the coast. It's hard for someone raised within 2 miles of the water to live this far inland. Next time I go, I will make sure to pack a towel so that I can wade across the stream that cuts the beach in half. It was only about calf-deep at it's deepest, but I wasn't willing to soak my hiking boots and jeans. I could have taken off my boots and socks, but in the end I decided not to. Not because the water was cold b/c that doesn't bother me, but w/o a towel, I'd never get the sand off my feet and it would be uncomfortable back inside the boots. Next time I will be more prepared, now that I know what the beach is like. There are far less beach logs than at Kalaloch, but more sea stacks. It's called Ruby Beach because there are ground up bits of garnet in the sand. I couldn't really tell in the strong afternoon light, but it does seem to glow red in sunset pics I've seen. The trail to the beach is much easier than Kalaloch too.

I found a perfect nature-made log bench on the beach where I sat for quite awhile, watching the waves. That was the most relaxed I've been in ages and ages. Probably since I went to Victoria in 2007. The breeze was delicious. After a bit, I was getting too hot in the sun, so I walked back to the stream and followed it back a few yards to the shade, and hung out on a beach log there for awhile, staring into the woods. I saw something large and dark in a clearing, and was hoping it was Sasquatch, but a closer look w/ my zoom lens revealed a tree trunk. Oh well.

After I left, I stopped at a great scenic view turn out on the road to shoot some more pics of the coast, and then I stopped at Beach 4 and went to the overlook for more photo ops. I thought about hiking down but it was getting late and I was thirsty and out of Gatorade! Gives me a reason to go back.

March 23, 2010

Kalaloch Lodge and Beach

I arrived at the lodge around 11, and was stoked to hear that my room was ready (check in time is 4 pm!). The property is made up of several cabins, the main lodge, and the Sea Crest House, which is where I stayed. A very cozy room, all knotty pine walls and trim. No TV (that's the equivalent of camping for me). I had a view of the water between 2 cabins and a split rail fence. Real cute patio but the sun beat down on it so I didn't kick back out there. I settled in, put on my hiking boots, and headed down to the beach.


To say that the beach at Kalaloch is littered with beach logs is an understatement. They come right up to the stairs that lead down from the parking lot, and you have to gingerly pick your way across and over them, testing each one to make sure it's stable, all the while trying not to get splinters in your hands. I cannot imagine the power it must take for the ocean to toss them that far up on shore like so many Lincoln Logs. I'd love to go storm watching out there some time.

This isn't a place where you can swim, or should swim. Fly a kite, wade up to your ankles, but go no further. And never, ever turn your back on the ocean up here. The beachcombing was OK. Lots of quartz and interesting stones. The surf pulverizes most shells and sand dollars into pieces. No beachglass at all, much to my chagrin. No Japanese glass floats although there was a white plastic one. Tons of little bits of plastic at the high tide line, which was distressing. Bits of nylon rope. Great drift wood, and I found a piece of what looks like volcanic stone. It's very light and full of tiny holes.

Hope you enjoy the shots.