Mt. Rainier and Lenticular Clouds - Dec. 2008 copyright: JMM
Showing posts with label painted rocks. Show all posts

June 24, 2014

Miscellaneous Projects

A few months ago I found a pair of old earrings in a junk shop for $2.  The peacock blue crystals are so pretty.  I took the earrings off the backs and made a beaded hairpiece out of one of them.  This is the first time I've ever made this particular style.  Usually I do either round or oval shape. I was pleased with how it came out.


Rainbow beads in a mini bottle.  I had to use a head pin to make them stack evenly, and put the head pin into the cork bottom.


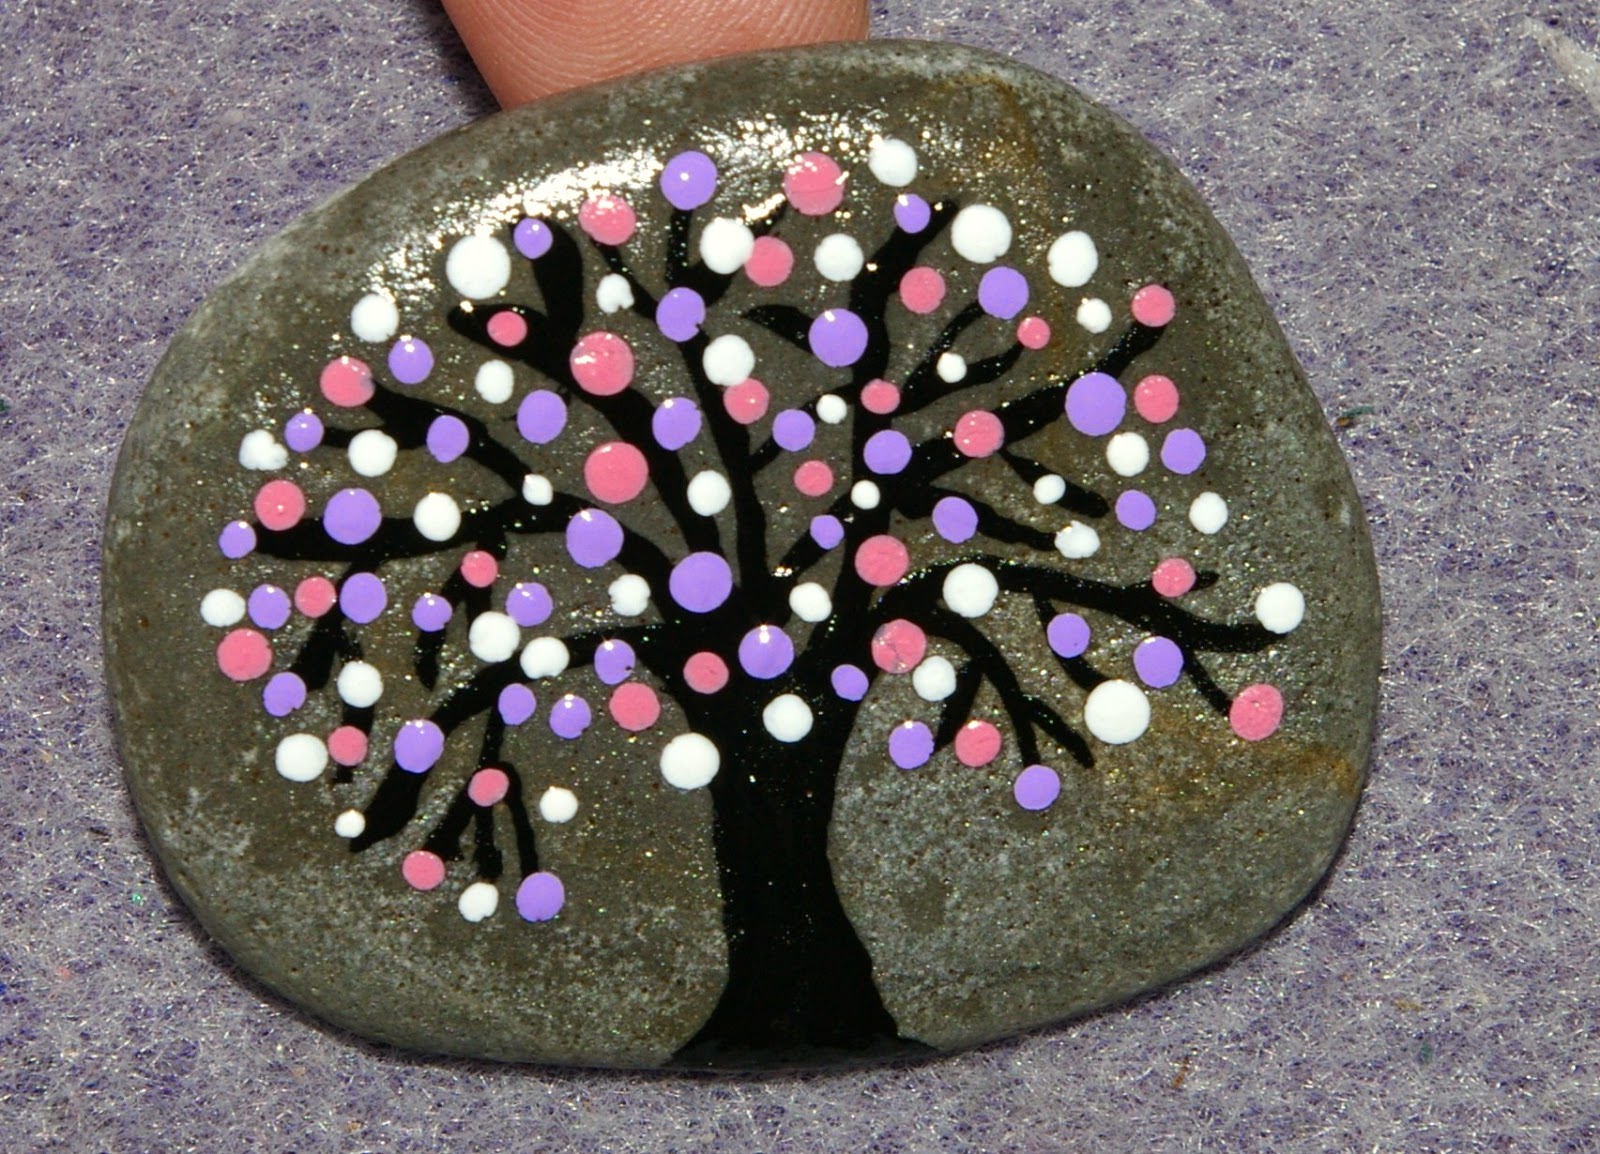
Another rock with a paint dot tree. 

And a triple moon rock.

Fall tree

And a heart.  I also made a paisley but it didn't come out that good.

I found the pattern online somewhere and it made me laugh so I made it into a card to send to Axe.  

And speaking of cards, my bff Marsha's birthday was this month so I did a beach themed card using an old fashioned linen postcard reproduction with a poem about walking by the seashore.  I added shells, beach glass and some pearl beads to it.


Inside of card.

Finally, this was another pattern from the internet so I did it into a book mark.  I changed the black R and diamonds to the house colour of copper.  Then I stitched it to some stiff felt so that it keeps the shape and hides the stitches.


March 11, 2013

Beachy Crafts

I've seen some tutorials online for drilling holes in beach glass and rocks.  I was going to take a class in Sandwich in February but it filled up and had a waiting list so I bagged it and found a cheap set of diamond tipped drill bits on Amazon.com.   They work really well!  It's a little rough on the shoulder, it takes speed control and several minutes to drill through.  My fully charged drill battery died after doing just these 2.  It's just nice to know that I was able to do this myself with a $5.99 set of bits, instead of taking that class in Sandwich that was going to cost over $60 for materials & instruction. 


Marsha brought me back a sackful of shells from Sanibel Island so I made good use of them.

This is my first attempt at stitching together 3 pictures into one, using a very basic photo editing program called Photo Expressions.  That's why the background looks a little wonky.

I DID NOT MAKE THIS.  My friends posted it to Pinterest and on my timeline as an idea for a project.  I would post who this belonged to if I had the link but I don't.  It didn't lead anywhere on Pinterest.

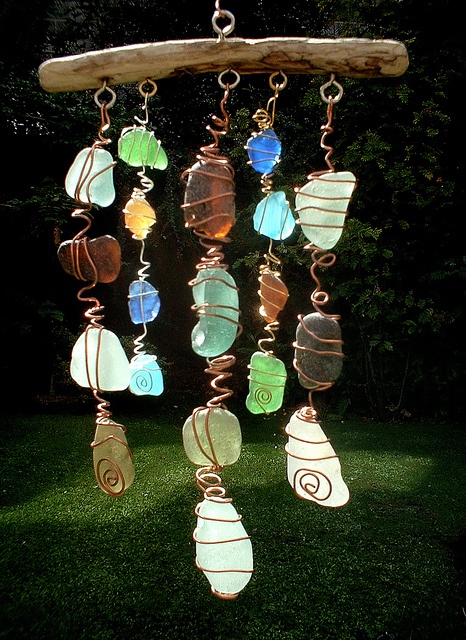
This is my version.  Another 'never again', or at least not for awhile.  For one thing, I have no idea what I'm doing when it comes to wire wrapping so I wung it.  I was going to do 5 strands of glass but stopped at 3 because of the frustration level.  I wish now I'd taken Mark Lareau's 'All Wired Up' class at The Bead Factory in Tacoma, but I figured I'd never venture into that particular craft.

This was another Pinterest idea.  I need to buy shiny-drying paint though.  It was too cold to use the sealant on them so I stuck the eyes on without it, because I'm impatient.   I call them Pocket Palz.  It's so nice to have an unlimited supply of beach rocks for this!

This is the final result of the drilling beach/craft glass and rock.


Then I put some of my beach glass chips into a teeny bottle and made a necklace out of it.

June 21, 2012

Painted Sunday

Sunday is the loneliest day of the week for me, so I try to keep myself occupied with lots of things to do since I don't wanna venture out into traffic, as that's a change-over day for the Cape area.  I had such a day a couple weeks ago, when I decorated the flip flops, tie dyed the canvas shoes and got some painting projects done.  The paint had been sitting out for awhile, so it was time to tackle the project ideas I'd had in mind.

So I spread out all the paint supplies on the stove.   As you can see, this was taken prior to doing the tie dyed sneakers.  The white styrofoam cone was painted blue and then coated with glitter paint, for another project to be posted later.  I spent the better part of 2 or 3 hours alternating between projects; as one dried, I moved onto the next one.


I found more rocks in the box with the paint supplies so I decided to do them too.

I'm obviously keeping the one in the bottom right corner!

Then it was time to attempt a few more shaving cream cards.

Another swirly paint shot.


I think part of my problem is the paper I'm using for the cards.  It's just not heavy enough.  I am planning on cropping out the best parts of these for use.

April 9, 2012

Happy Stones

Latest batch of  painted and decorated "happy stones"!  I found some fine tipped paint pens which made doing words and peace signs really easy, but I still can't free hand a heart, so again I used stickers.  A couple of the rocks are unpainted and also double sided with writing or stickers on the reverse.  

Now to leave them places for people to find! 

February 24, 2012

"Heart" Rock Cafe' and Melted Crayons

You all know me, I'll try anything once.  Craftwise.  (Get your sordid little minds out of the gutter!)

I found a cute idea on Pinterest, where you paint rocks with hearts on them, then leave them places for people to find.  Lord knows I have a neverending supply of free beach rocks, and hey! My paints hadn't dried out either!


Three of the four essentials in my life:  Laptop computer, fuzzy friend-slash-supervisor and crafts.  (The 4th essential was on the road that day).

Painting the rocks was easy and fun.  Took a couple hours one night to do the tops and sides, and an hour the next morning to do the bottoms.  I discovered that I absolutely cannot freehand paint a heart to save my life.   I even tried using my very fine tipped paint-pens, that you hold like a pen or pencil.  Every attempt looked like a blob.  So, I Plan B'ed it, and dug out some small heart stickers to use instead.  I actually like the way they look with the sticker instead of a painted heart.  Then I sealed them with a clear spray varnish.  These were just prototypes, just to see how they'd come out.  I like them...they are simple and cheap to make, and cute.  I will, however, apply extra glue to the backs of the stickers next time because the sealant kind of messed with the sticker adhesive, making it not stick, so that took another hour of time, slipping dots of glue under all the edges that refused to adhere to the rock.   


I left some in a few public places in Buzzards Bay and the parking lot of the Evil Empire in Wareham.  I don't know if people took them or not. 

The next project I just HAD to try was Melted Crayon Art, yet another idea from Pinterest.  The instructions are wicked easy; again a great and inexpensive project to do with kids.  Pick the crayon colours you want to use and hot glue them to a piece of canvas.  I used 2 of each colour, so you need at least 2 boxes of the 64-size crayons.  

Glue them in whatever colour pattern you like.  I went with rainbow for this project, but any colour combo can be used.  They are glued opposite to the direction you want the art to look when completed.  

Next I put the towel down on the bathroom floor, flipped the canvas over, and began to melt the wax with  my blow dryer, on high heat.  You can control which way the drips go.  Some colours also melt faster than others for some reason, and I am bummed that the wax melted under the paper wrapping too, staining it.  Still, the drippies look pretty!  I may give the greens another shot of heat because they didn't melt as much as the others.

Here's one in greens, blues and purples.  These have far less damage to the labels and I melted them longer too, but I accidentally splattered the green area w/ some blue wax.

Another idea involved melting broken crayons together to make one big Multicolour Super Crayon.  Well, I don't have any that were broken, but I did have a box that had mostly dull crayons so I used those.  It took awhile to slit the paper off them.  Then cut up the sticks into pieces.

I used paper liners in my muffin tin (with a little bit of water in the side not being used).  Mixed and scooped the bits into the tin.

Put the oven on 240*.  Some directions I've seen seem to use a melting range of 225* to 250* so I sort of split the difference.

I took them out of the oven once they were liquified.  I was a little dismayed at how much the tops had blended.

I let them cool on the counter for a few minutes, then put the tin in the freezer for 10-15 minutes.  They shrunk a tiny bit once frozen.  These are upside down and the paper wrappers.

Mixture showing tops and bottoms.  They look like psychedelic Reeses cups!  One broke because it hadn't melted all the way.