Mt. Rainier and Lenticular Clouds - Dec. 2008 copyright: JMM
Showing posts with label Pinterest. Show all posts

February 15, 2016

Nebula In A Jar

Superbowl Sunday was kinda boring....well other than the fact that we were battening down the hatches, doing every errand one could think of and waiting for a week of heavy snow.  So I was browsing my Pinterest boards looking for something quick and easy to knock together.  I found the Nebula In A Jar project and since I had everything on hand, I went ahead and checked out the tutorial, found HERE.  

Seemed pretty easy and only took a few minutes to do.  I like how it came out....it's definitely pretty. However, it's just one more thing taking up room in the house!  Sadly this will end up being thrown out and the jar reused.  I just wanted to give it a try.  Bummed that I wasted all that glitter and every cotton ball I had in the house.  


My friends think it looks like cotton candy.

August 21, 2014

Weddingy Stuff

First, I want to share the beautiful poem that Marsha read which made us so emotional because it was so appropriate to our history and love story:

I never really knew you, you were just another friend
But when I got to know you, I let my heart unbend

I couldn't help past memories, that would only make me cry
I had to forget my first love, and give another try

So I've fallen in love with you, and I'll never let you go
I love you more than anyone, I just had to let you know

My feelings for you will never change, just know my feelings are true
Just remember this one thing, I will always love you.

I wanted to make some favours for our handful of guests.  Of course I turned to Pinterest for ideas.  I found one that was so adorable: chocolate kisses in a canning jelly jar.


A quick internet search revealed that Walmart in Wareham had them in stock.  So I flew down there one morning and got a package of jars and a few packages of kisses and went to work!  I used a different ribbon because I can't tie a bow.  Did the tag on the computer printed on cardstock and then punched them out with my circular punch.  My stupid printer is starting to streak again with the colour ink.

Added this to the back of the jar.

As much as I love glitter, I wasn't sure if my friends would be as enthused as me, so I opted to add purple heart shaped rhinestones to the lid, which has a pretty pattern on it anyway.  The smaller crystal hearts only appear on five of the jars, for the kids, Marsha & Liz.

It's unorthodox, but this was what I got my stepdaughter for a Maid of Honour gift.  I picked it up in Salem. When it's turned on, it cycles through all the colours of the rainbow and is filled with glitter.  It's pretty cool.


So the velvet dress was purchased several years ago from the Pyramid Collection catalog.  I never wore it once but I had to have it.  Russell proclaimed it 'The Hogwarts Dress' and was less enthused about it than I was for our wedding.  But Val talked me into wearing it, and my youngest stepson's girlfriend concurred, so this became my wedding dress.  


And now comes the arduous task of changing everything to my new name. :)

March 2, 2014

String Egg on Balloon

Been meaning to try this for awhile, despite seeing so many attempts with bad results, esp. on Pinstrosity.  So I decided to give it a whirl one day.  I first used a smaller thread size because when I was a kid, I had one of these string eggs and it was made with fine string.  I decided to use Mod Podge for one and starch for the other.

First I was entertaining myself with the static electricity.


OK down to business.  I spread Mod Podge on the balloon and started winding the string.  This was exceedingly messy and a pain in the ass.

Then I used the string and sprayed the starch as I went along.  This, too, was extremely messy and by the time I was ready for them to dry, there was glue and starch everywhere.  

They took all day and night to dry and when I let the air out of the balloon, both 'eggs' were total fails.  The Mod Podge one on the left had clear, dried glue in all the spaces between the threads.  The starched one on the right was extremely fragile and just didn't hold up at all.

So then I tried it again, this time using Elmers glue mixed with a little water and placing the yarn bits in it before wrapping around the balloon.  This was also extremely messy.

Took all day to dry again, but it's much sturdier than the first ones I tried.  

Not a total fail, but I also wouldn't do this again.  It's just way too messy.

October 12, 2013

Catching Up On Crafts

Here's another Pinterest craft I decided to try.  Just a jar slathered in Mod Podge with Epsom salts dumped over it.  First I tried the stripe of clear glass but I didn't like how it turned out or how the candle looked in it.

I covered the glass w/ more Mod Podge and filled them in with the salts, but you can really tell it was once striped.   After the glue was dry I sprayed a clear coat of sealant on it because the salts brush off really easily.

It looks pretty and frosty with the candle.  

Here are 2 of the small cross stitches that I knocked off in a couple of afternoons.

I'm also making stuff for the craft shows so I made a ton of glitter magnets and some wine cork ornaments.

This was a craft kit of the month:  Gluing tiles on a box and then applying grout, then glitter on the top edge.  It's supposed to hold a candle but I'm using it to hold misc. flotsam and jetsam from my craft table.

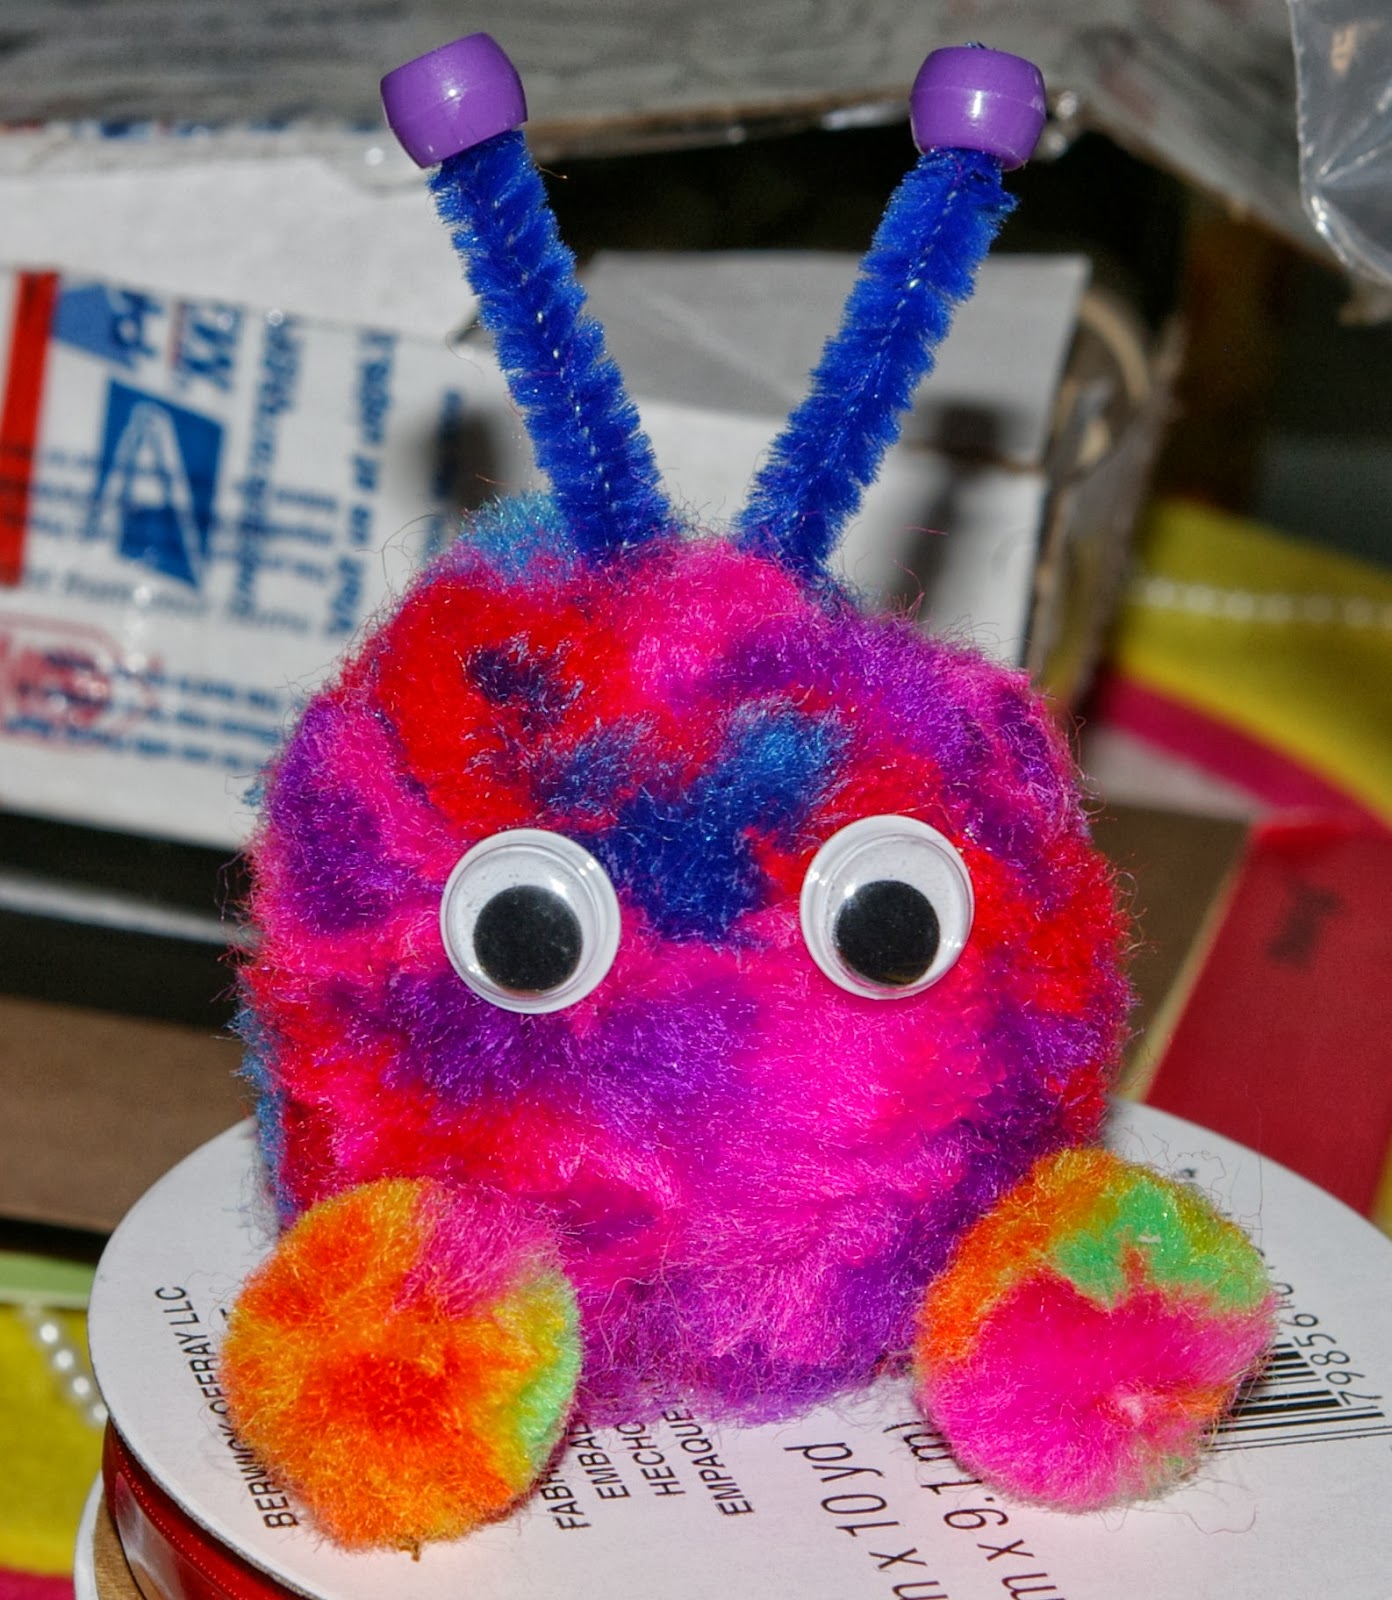
We went to an estate sale recently and I got a bunch of craft supplies real cheap, including a box of multicoloured pompoms.  So I made a little guy.  But he's missing something, I think.....

Ah that's better!!!!  The antennae make all the difference! Isn't he cute?


I lost quite a bit of crafting time in early October for various reasons, so it's nose to the grindstone now!

September 14, 2013

Me Plus You

Yet another cute Pinterest idea using buttons and paint.  I don't have a link to offer because this is pretty straightforward.  Paint the canvas in stripes, add the button heart and 'Me + You'. 

First I cut a heart out of paper and used it on stiff red felt, then glued red buttons on it.  I didn't like the black stripes so I used Tuscan red on a small canvas.  I used masking tape for the edging and touched up any slight leaks with white paint.  The lettering was done with a red sharpie because there's no way I could freehand that with a paintbrush. Then I covered it with a layer of Mod Podge to seal it, although word to the wise: The Sharpie WILL run.  It's slightly pink around the lettering, unfortunately.  After the Mod Podge dried, I glued the button heart on.

September 8, 2013

Light Bulb Hot Air Balloons

I saw this one floating (ha! see what I did there?) around the interwebs, on FB and Pinterest and I just love how these repurposed hot air balloons look.  I didn't look up any tutorials or links because it looks pretty straightforward.  However, I did notice that these look like they have actual metalwork welded or soldered on.  I also realized that, without some kind of glass cutter, I would never get the bottom off without shattering the glass and lightbulb glass is damn sharp.  I definitely didn't want to slice open an artery either.


I put this idea on the back burner and then I spied lightbulb shaped jars at AC Moore crafts!!!!  The project ended up getting moved to the front of the line.  I bought 2 large and 2 small jars.  This first one is done with one of the large jars.  

I used E6000 glue to attach chain on 4 sides, then used silver glitter puff paint to make the designs and swags.  After it dried, I stuck crystals on it.

I covered the metal screw with celestial fabric and a different chain around the top, then glued the hanging chain inside to make the gondola.

Then I worked on a small sized jar.  Again, I glued on some chain, then used silver puff paint to make the outline designs.  After it dried, I filled in the squares with glass paint.

The screw top was way too big for a gondola and a bottle cap was too small.  One of my friends suggested a thimble!  Brilliant!!!


I have 2 more jars to decorate!!

Total Win!!!

July 10, 2013

Fairies in a Jar: Fail

I've been wanting to try the Fairies in a Jar project for awhile.  The following 2 pictures are what are featured online.  So sparkly right?  The instructions are so easy!  Just get a glowstick, crack to activate, then cut the end off and splatter inside a jar and add 'diamond' glitter.  The only info I could glean on diamond glitter is that it's the white & iridescent kind, of which I have plenty.  I also had some glowsticks left over from the 'toilet paper roll eyes' project last Halloween.


I cracked the blue light stick and shook it out and around this jar, then sprinkled in the glitter.  While it did stick to the jar and was sparkly, it was only so due to the external light source in the kitchen.

In the kitchen with only one light on over the stove and no flash.  Blue is real pretty, glitter picking up the stove light.

Looking at the bottom, taken outside at dusk.

Dusk shot too.

 After dark, no flash.  Real pretty blue, but the glitter isn't twinkling.

With flashlight pointing straight down into jar.

Just flash.

With a candle inside which had a cool effect but you couldn't see the blue anymore.

Looking inside with candle light.  That's as close to twinkling fairies as it gets.

I'd say it only twinkles with a light source that's outside the jar.  It was pretty seeing the blue jar, but the glitter definitely doesn't sparkle like the internet photos show.  The twinkles are obviously photoshopped in the first picture and upon review of the second picture, it looks like the glow in the dark paint was dabbed on in dots; it's possible there is glow in the dark paint that has glitter in it.  

The ironic thing was that as I was outside taking the pics, there were lots of real fireflies in my yard.  I'd say just use the jars to catch and release actual fireflies, rather than make a mess with this project!!!

July 4, 2013

Confetti Bowl

Found another project on Pinterest I wanted to try since I still have balloons left from other crafts.  I found the instructions HERE on how to make a confetti bowl.  I saved the link to my bookmarks, intending to try it at some point.  As time went by, I couldn't really remember what the picture looked like....all I remembered was that I needed to buy confetti. This caught my eye in the grocery store.  Cool! Sparkly confetti!  

I got all my supplies ready and went to look up the link for the instructions.  

When I saw this picture, I realized I totally bought the wrong kind and that the shiny mylar could be very difficult to work with, as opposed to paper dots. 

I started off by promptly spilling it on the counter, and this stuff is as bad as glitter.  As the project moved forward over the course of 2 days, I started noticing bits of shiny confetti all over the house.  

Here's the first of many coats. I kept adding to it all afternoon.  I also discovered that a paint brush worked better for spreading the Mod Podge than the sponge did.

After about 4 coats of confetti, I slathered Mod Podge all over it and waited for it to dry.  After it was dry, I was able to point it towards a light source and look through the back end of the balloon to see where the holes were, so that I could add confetti where needed.  After that was done & dry, it got a final coat of Mod Podge.

 Here's the completed bowl.  I trimmed around the top edge to make it more even.  Some of the pieces just refused to lay flat so there's a texture to it.

Looking down at the inside.  You can see that the shine returns once the Mod Podge dries. 

I'm happy with it.  I'd call it a Pin Win.