Mt. Rainier and Lenticular Clouds - Dec. 2008 copyright: JMM
Showing posts with label 52 Reasons Why I Love You. Show all posts

December 9, 2012

New and Retro

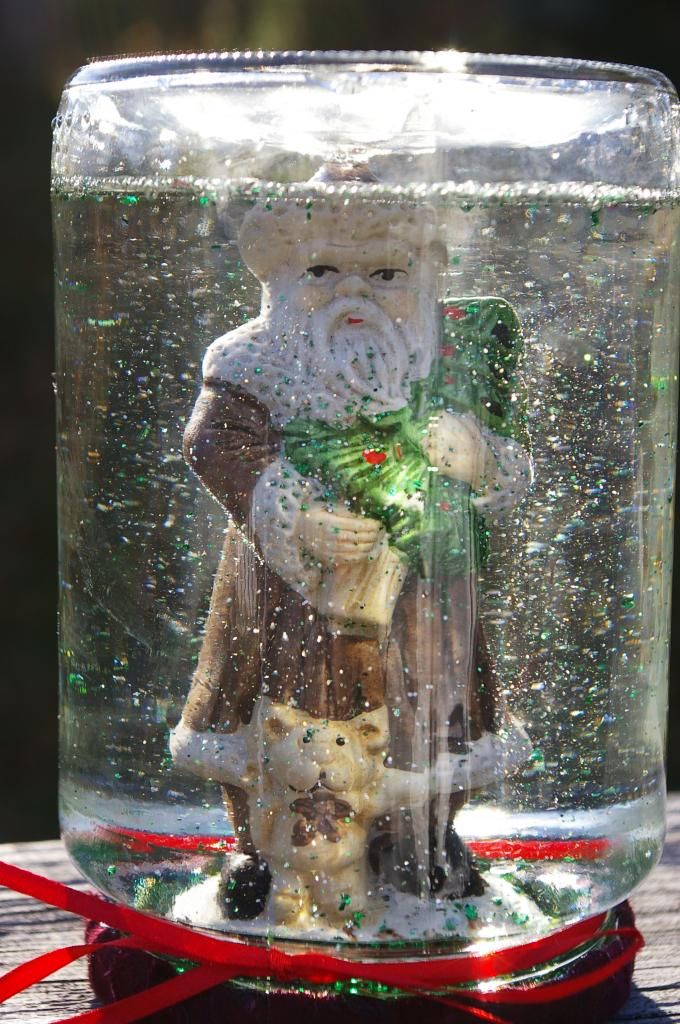
Pinterest is, of course, featuring tons of holiday themed projects right now, including snow globes from jars.  It looked pretty straightforward, all I needed was a jar, something to put inside it, glue, glitter, water and glycerin.  I found that Santa figurine at The Watchamacallit Shop in town for $2.00.  I didn't have a jar that fit, except the pickle jar in the fridge which was full of, well, pickles.  I dumped them into a tupperware and started the project. The Pinterest project calls for the use of hot glue.  I HATE hot glue.  It never ever works for me.  Ever.  Stuff always comes unglued and there are always those annoying spider webby type strings that stick to everything.  I asked around and it was suggested that I use epoxy or a clear vinyl caulk.  I bought both.  Since the caulk wasn't supposed to touch water for at least 2 hours, I used the epoxy.  Huge mistake.  The stuff stinks so incredibly bad that this water globe has been sitting outside for over a week.  Overall, the idea worked fine - the glycerin helps the glitter float down slower.  But next time I have to use a different adhesive.
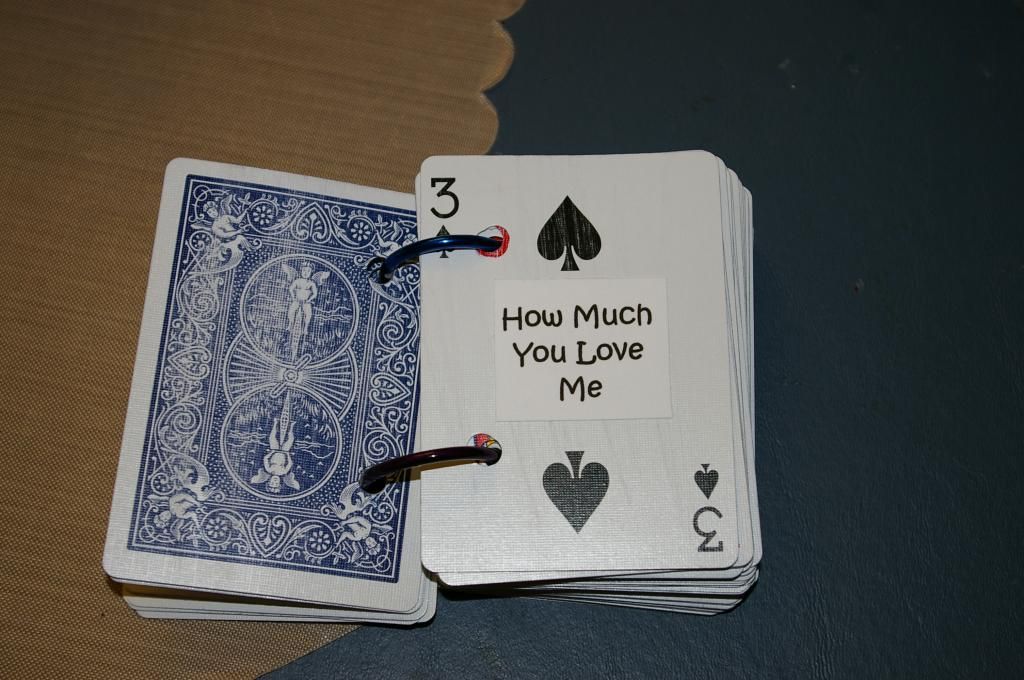
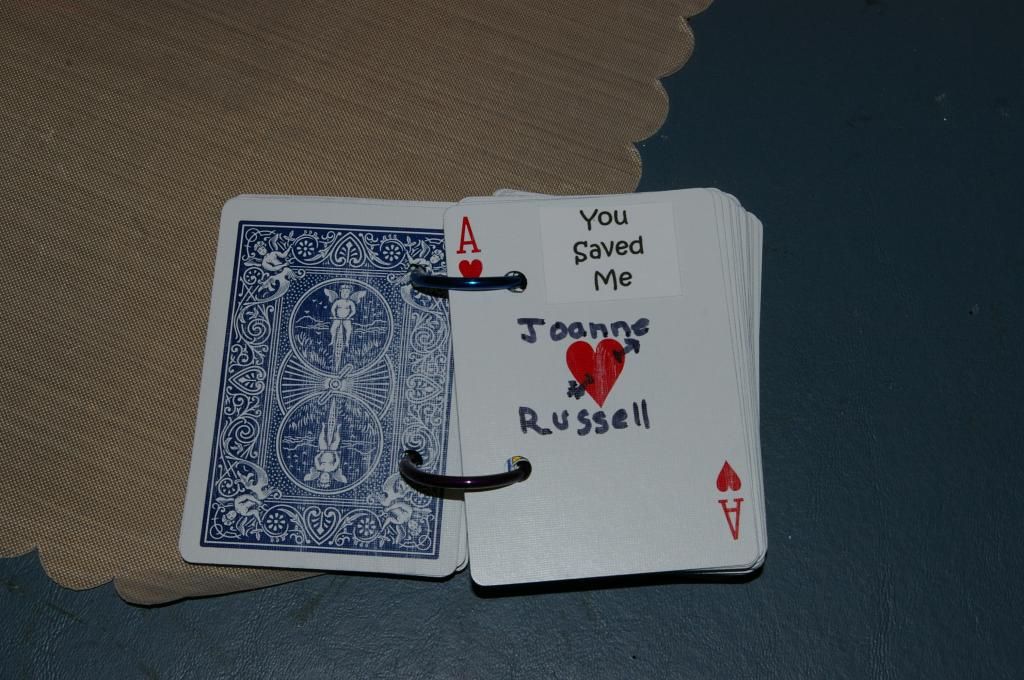
This to illustrate how the 52 Reasons Why I Love You cards came out.


The candles were still out from the storms in November so why not add some sequins.

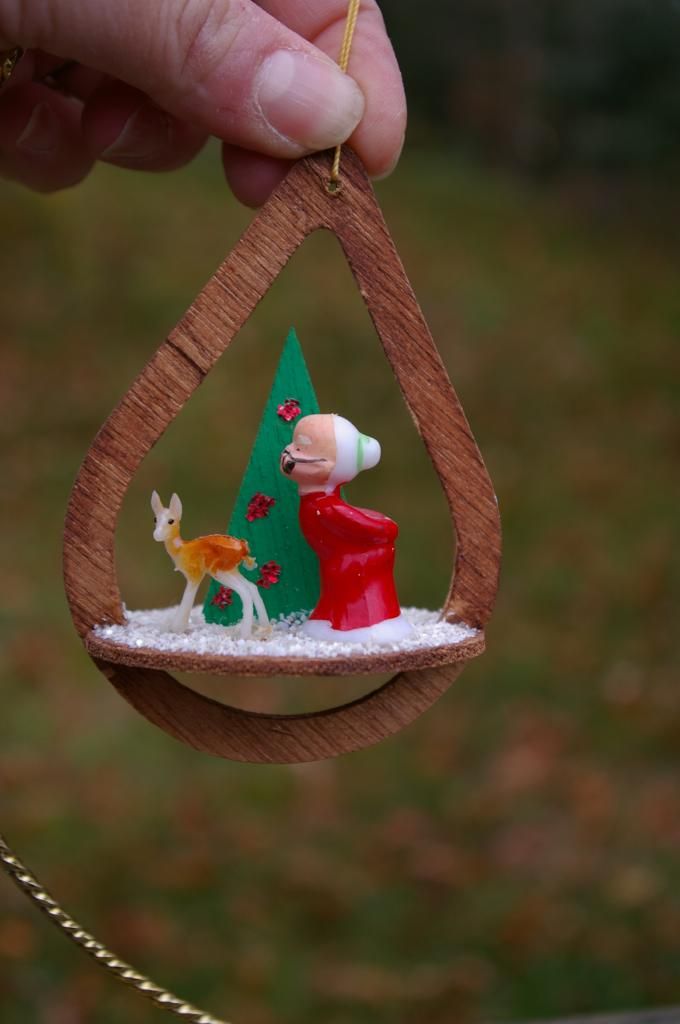
Now for the Retro portion of our program.  When I was a kid, I always received craft kits on my birthday and Christmas because there really wasn't much for me to do during those long winter/indoor months.  When I was about 9 (1973), I received a rather complex ornament kit, which would require more than a day or so to make, and only with adult supervision.  These had to be carefully popped out of the wood frames, stained, painted, the bases put into place, glittered & decorated with little figures...
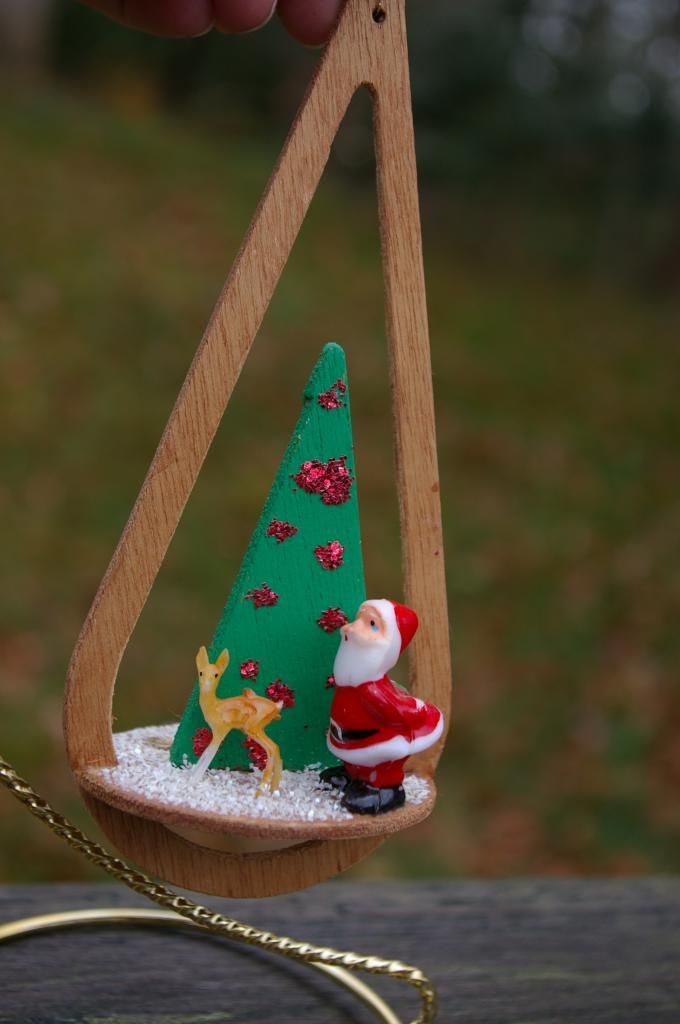
on both sides.  And after all these years I've just noticed that I stuck this deer on facing the wrong direction.


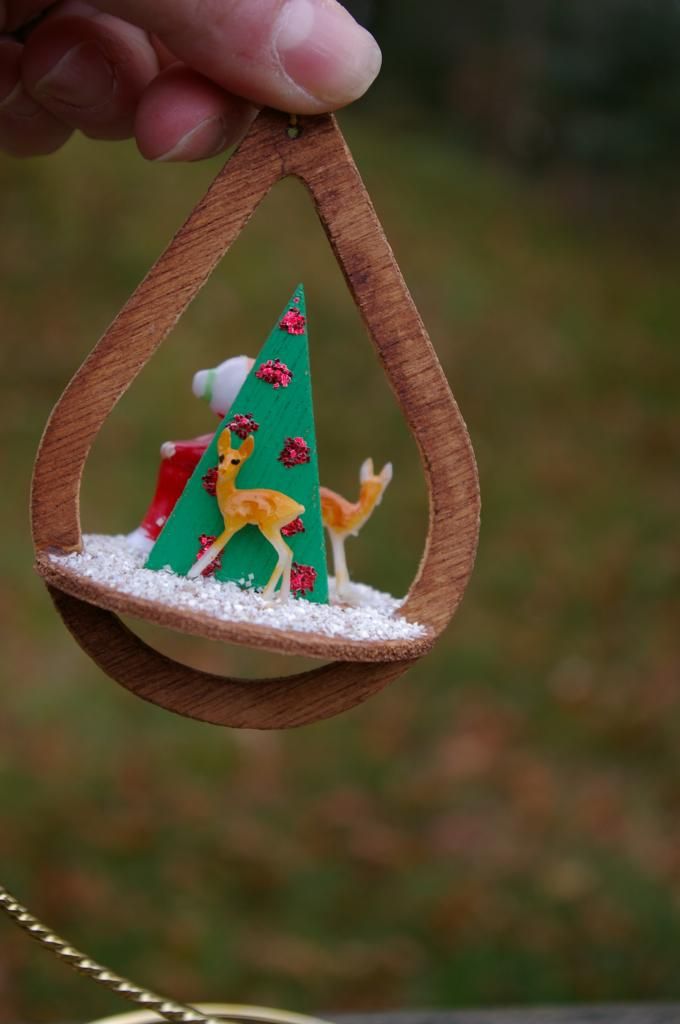
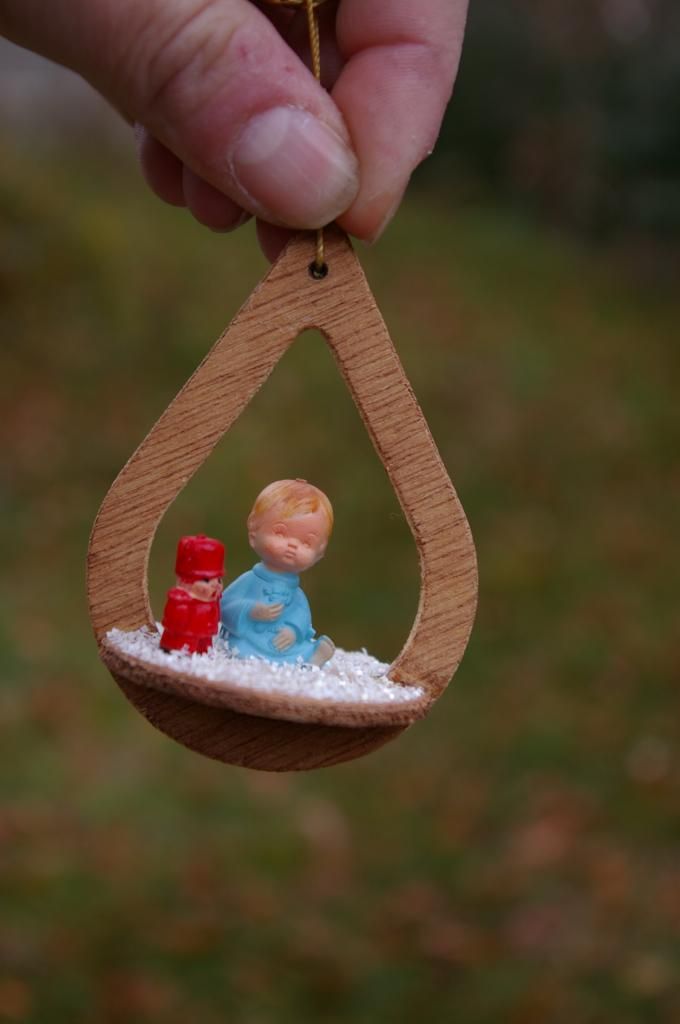

There's a little deer in the bubble wrap baggie for this ornament that needs to be re-adhered.
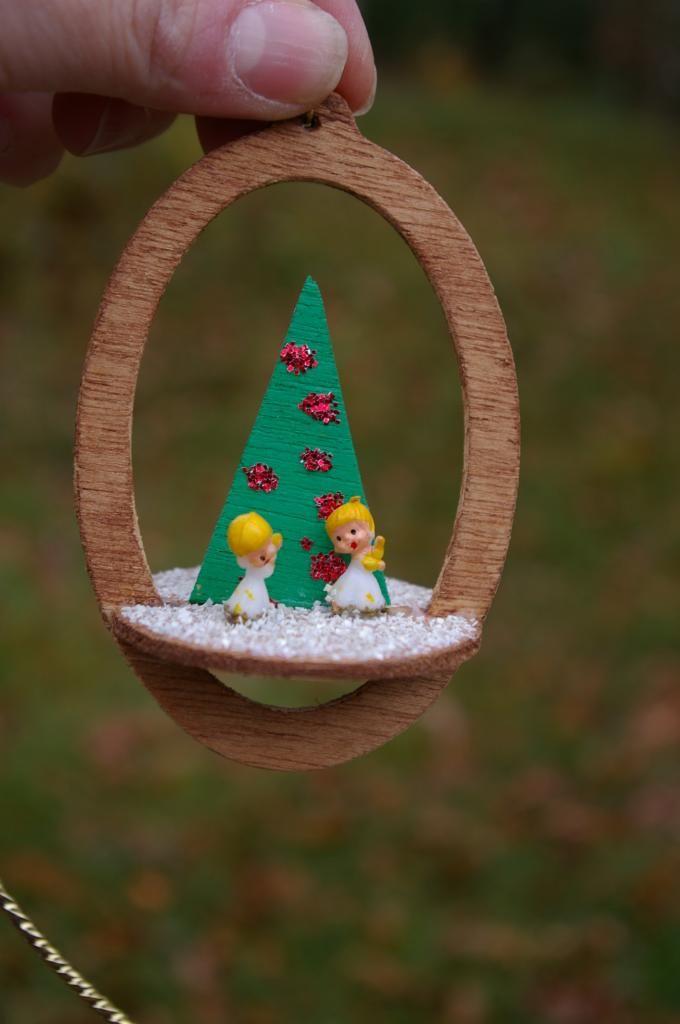


When we are able to finally have a large tree, I will be able to use them again.  But for now they are carefully packed away, and I'm very fortunate that they have survived nearly 40 years, being shipped to the west coast and then all the moves since then.
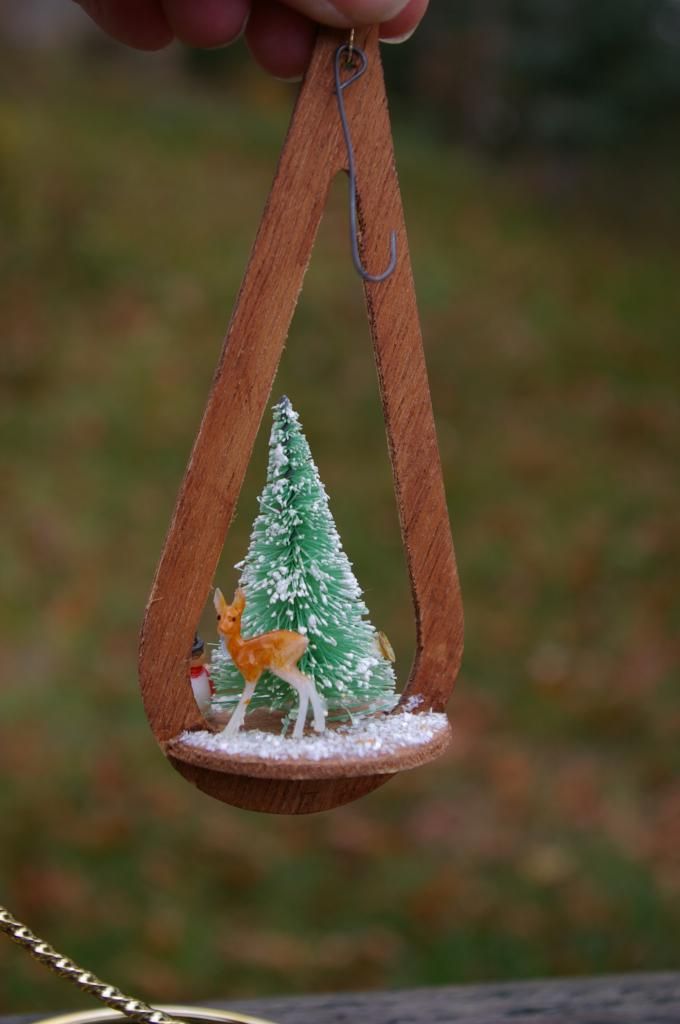
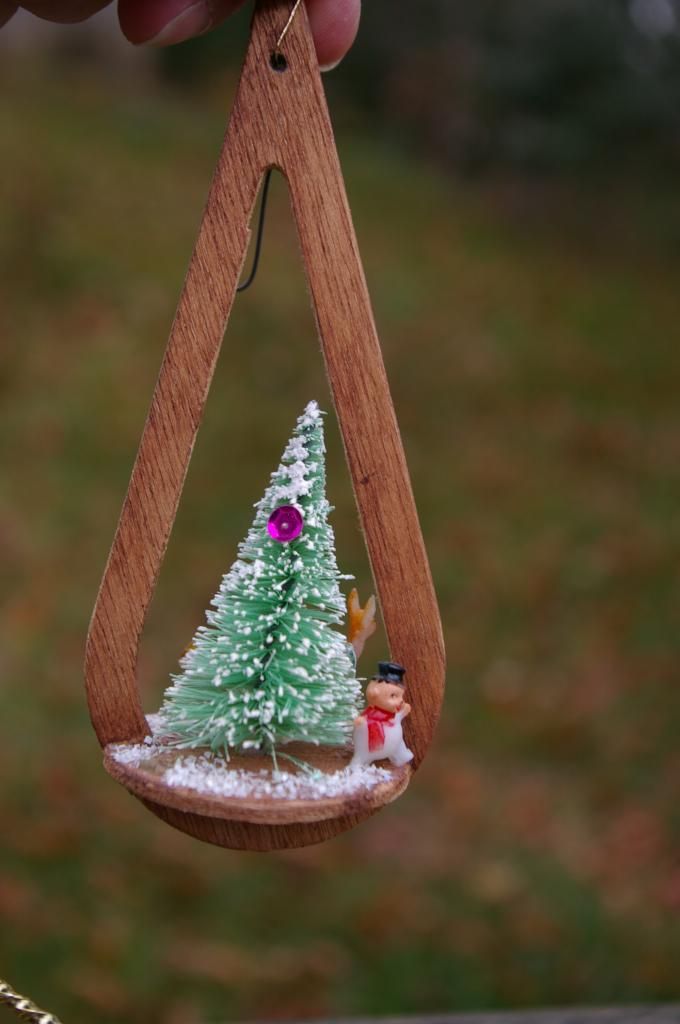
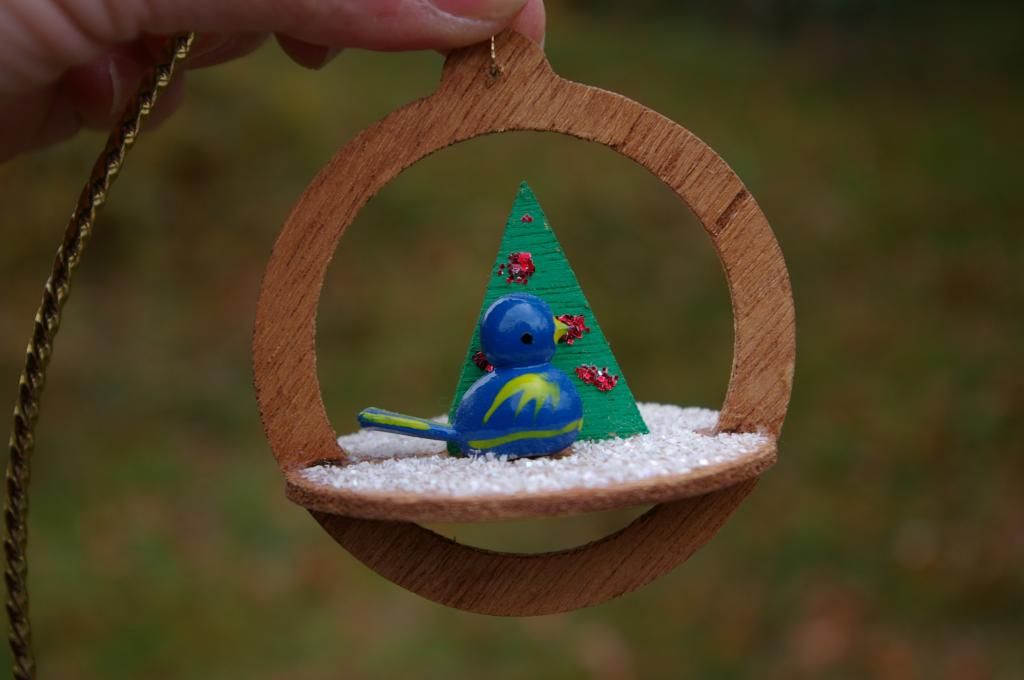
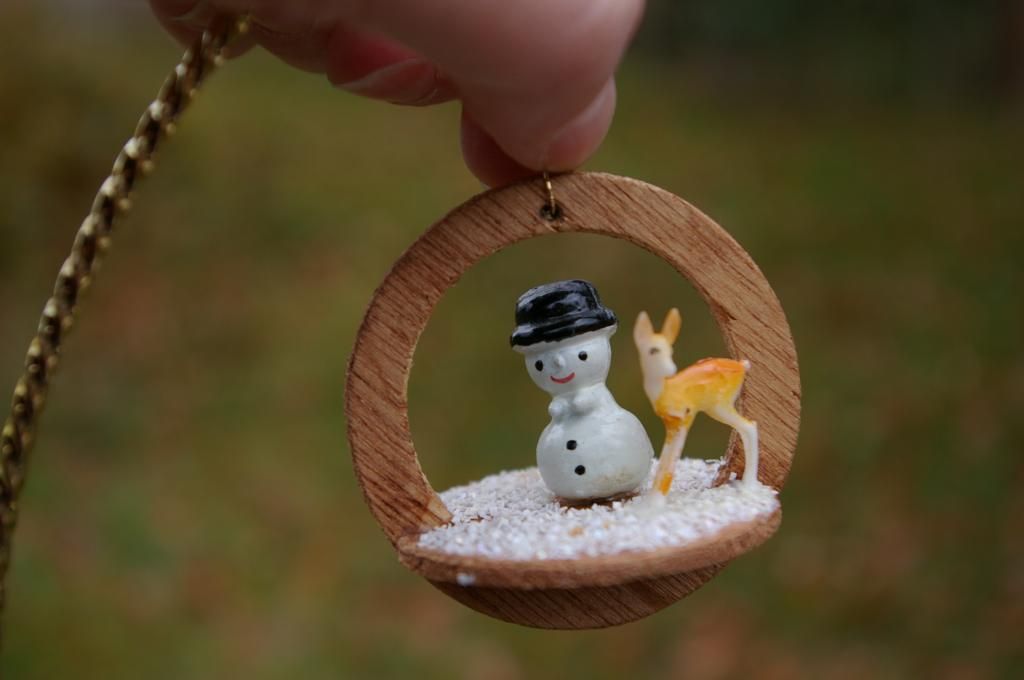


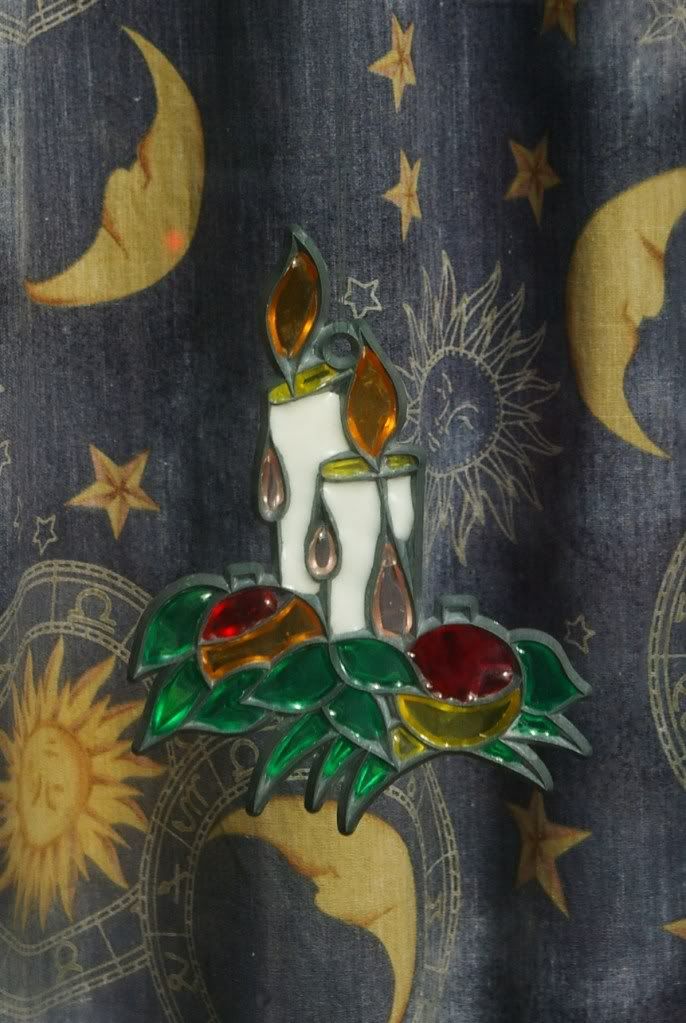
These last three were made by me, probably around the same time period of December, 1973.  They are those Make-It Bake-It melted plastic pellet kits.  I used to love making these and I'd still do it if I could find them.


This one is my fave.

November 13, 2012

Crafty Crafterson Is At It Again


I made this distressed beach-themed frame for my pal Marsha.  The undercoat is light blue.  I should've taken a picture of it with the photo I inserted.....

but it was this one.

Then I made one for Liz.  The undercoat of this one is dark green.  This frame project kept me busy during Hurricane Sandy.  I sure hope she doesn't read this before it arrives in the mail, which hopefully is today!  lol

I found this amazing crystal candlestick at a yardsale for $1.  What's a girl to do but ADD GLITTER!!!!!

I came across a really easy project on one of my Pinboards, on how to make crackled marbles.  So I dipped into my stash of modern/machine made marbles and baked some at 350* for 10 minutes.

Then immersed them in ice water.  They cracked but not dramatically, so I dried them off and popped them back into the over for another 10 or 15 minutes, then back into the ice water.  By the way, if you try this be really careful because the marbles could shatter when they hit the water.
.  
 As you can see, they did crack.....

But not as dramatically as these crackle marbles that are part of my stash.  I think maybe they need to stay in the oven longer than 20 minutes.  

I prepped this one like 2 weeks before Halloween.  You cut funny eye shapes into used paper towel rolls, then use glow sticks inside them and put them in a bush.

I do like they way they look, but unfortunately, there's a street lamp almost across the street from my house that bathes my front yard in orange light, so the lit eyes aren't terribly effective.  I'm sure they'd look OK in my back yard where it's very dark.


Right after I went in the house after leaving them in the bush, we had a very brief but violent thunderstorm, brought on by Hurricane Sandy the day before, which moved through with torrential rain and a microburst of 90 mph wind that hit neighbouring Wareham.  HERE is the news story about it.  Needless to say the glowsticks were knocked out of the bush and the cardboard rolls disintegrated in the rain.

"52 Reasons Why I Love You".  Believe me I can come up with way more, but this project calls for a deck of cards so 52 it is.  Not sure when I'll give it to him; maybe Christmas, maybe in a lunch bag when he leaves.  I sanded each of the cards to make them look a little more used and tried to shuffle them a bunch too.  It took about 3 hours to prep the deck, type and cut out all the reasons.  Then I mod podged them to the suit-side of the deck.  Some of the projects showed the reasons on the back side of the cards but I opted for suit side.


Russell's niece suggested I make something with beach glass, so I did this using the craft 'beach' glass and some that I bought at a yard sale.  I would NEVER use my own stash, even if I were to keep the project for myself.  This took about 4 days to complete and to be honest, was a royal pain in the ass.  Marsha asked if she could buy it and I was more than happy to let it go.  I've told my friends if I ever get the hankering to do this again, to please smack me upside the head.

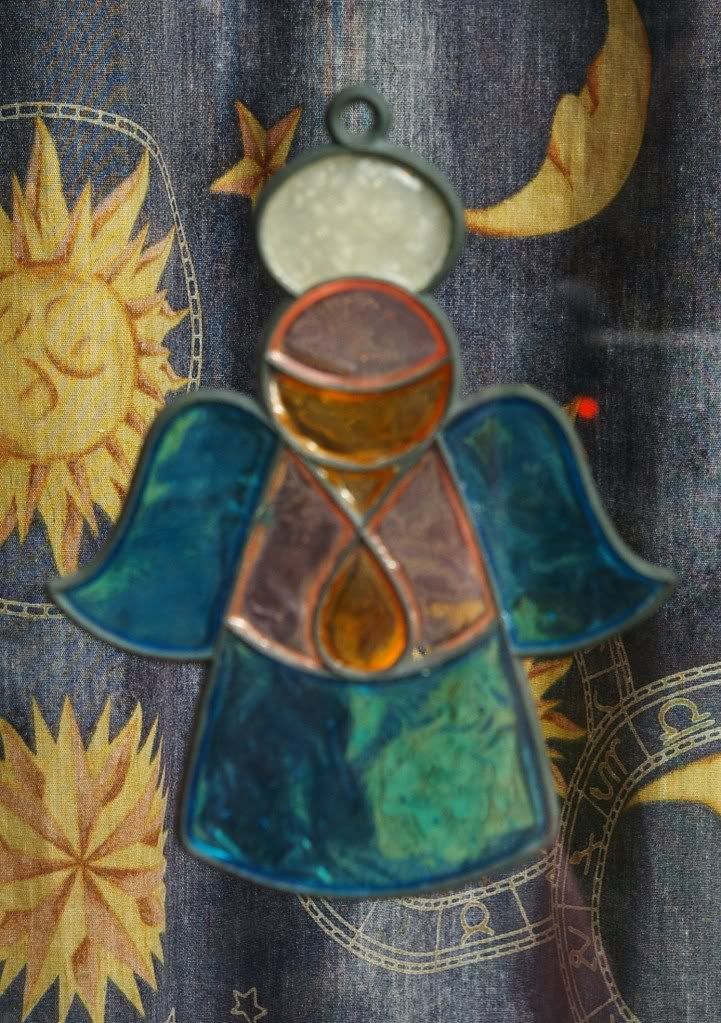
And a sample of more glitter ornaments that I made to sell at the craft show.