Mt. Rainier and Lenticular Clouds - Dec. 2008 copyright: JMM
Showing posts with label altered bottles. Show all posts

December 27, 2012

Projects

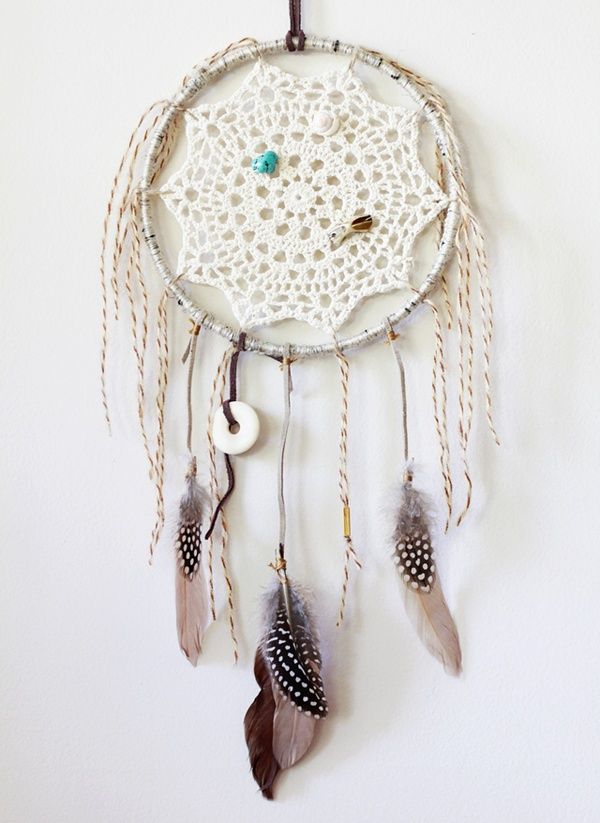
I saw a cool idea on Pinterest to use a doily to make a dream catcher.  I finally found some doilies at JoAnn Fabrics in Hyannis but they are kind of poorly made and didn't fit into the metal ring I had at home.  


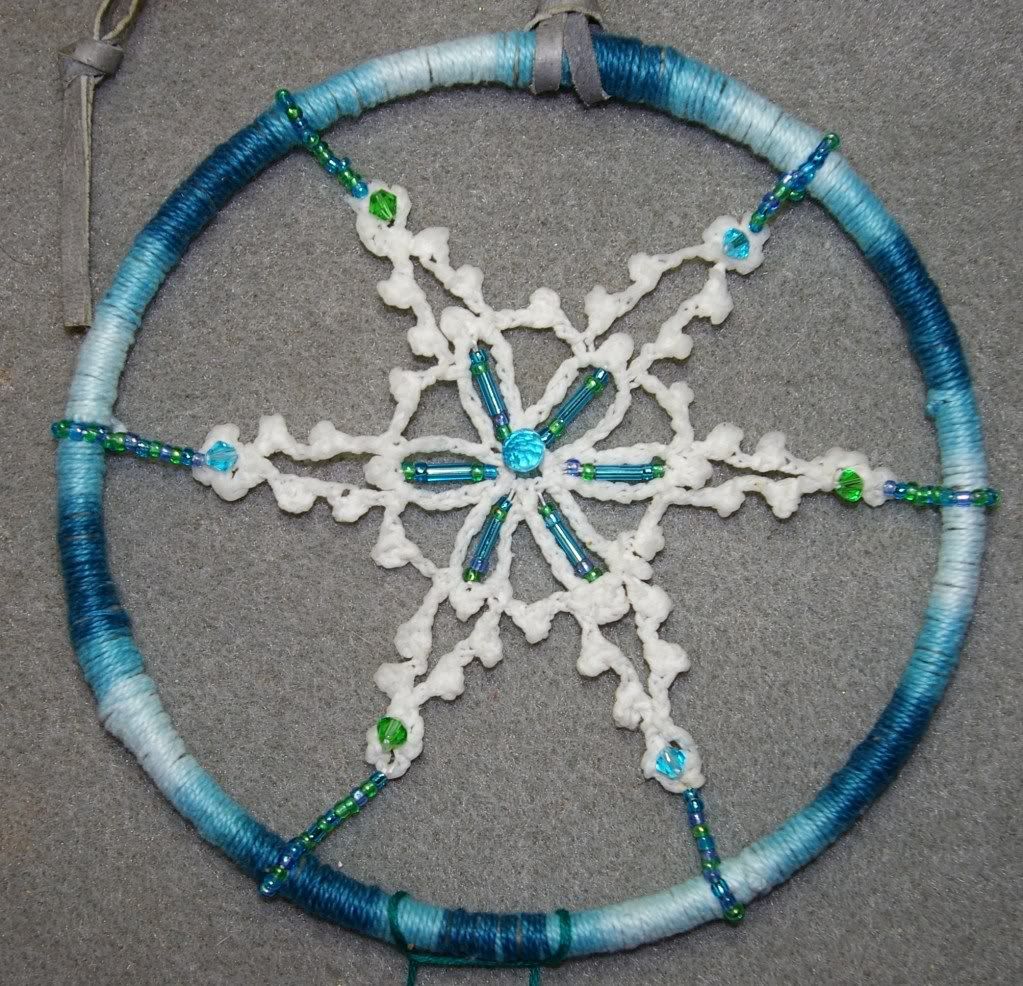
But then those pre-starched crochet snowflakes surfaced when I took out the decorations so I snagged a couple.  This was the project I'd had to step away from when I went to Onset that one day.  It may look like it was easy but I ran into some problems stitching the beads due to the high amount of starch and difficulty getting the needle through it.

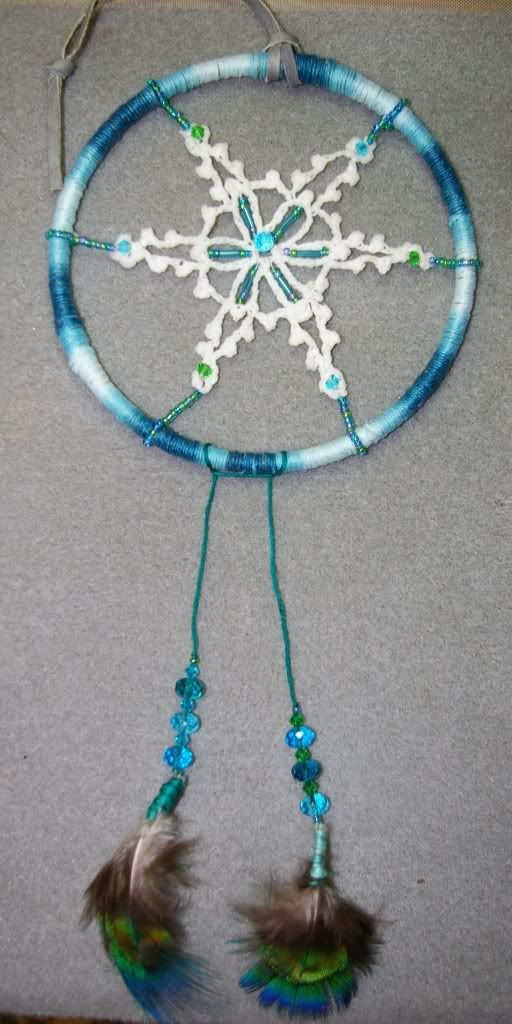
After I had the snowflake attached to the ring, which was originally wrapped with synthetic sinew fibre, I realized I should have covered the bland sinew with floss.  That meant stopping what I was doing and trying to shimmy in this step as an afterthought.  It was Not. Easy. 

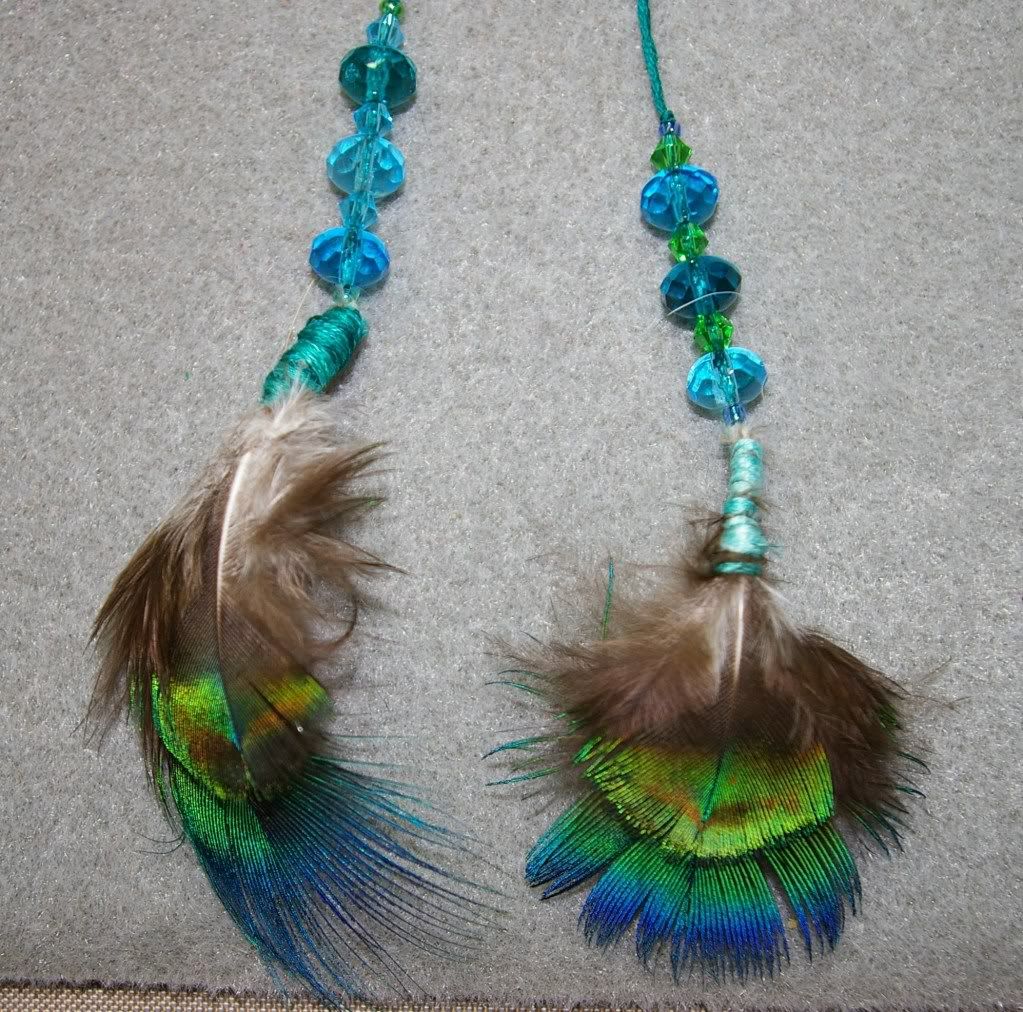
I used some peacock feathers on the bottom.  I'm not crazy about the way they hang but oh well.

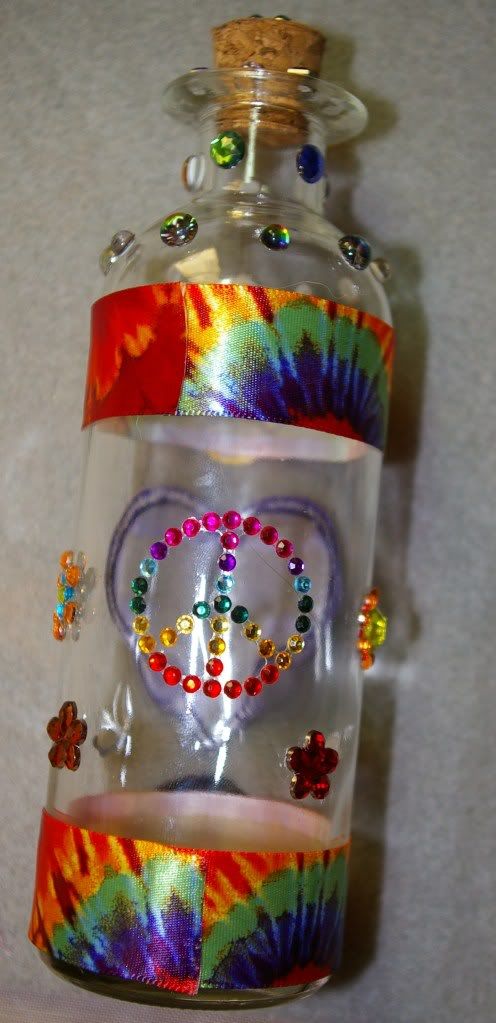
Then I stuck some stuff on these mini glass bottles I had laying around.  Just what I need....more knick knacks.

This one was definitely fun to make and is definitely for me.


September 4, 2012

De Todo Un Poco

Determined to make stuff with all the supplies I keep finding in my boxes, I ended up have a 'little bit of everything' day of crafting.  

Decorated a bottle with glass blobbies and some fibre.

This was a small brown bottle that had a black plastic lid.  It wasn't going to be any good for glass painting so I covered it with fibre and put paper and crystals on the lid, then added a turtle charm.

While waiting for glue to dry, I found the kirigami paper and instructions and gave it another shot.


After about a half dozen tries over the past week, I finally made a bead and jumpring bracelet I saw on Pinterest.

The craft that took the longest was a Sharpie tie dye technique I was dying to try.  I found this plain canvas bag with my stuff and I also unearthed all the coloured Sharpies I bought back in WA.

I have way more colours than this...but I was gonna start with these and see how it went.

The direction I followed online said to make a design in about the size of a quarter.  I used a whole bunch of colours.

Next you drip rubbing alcohol on the ink and wait for it to spread.  I didn't have a dropper so I used a straw and it was hard to control the alcohol.  Then one whole side totally refused to spread, not even when I tried to add more ink and alcohol.

Had the best luck with these colours.


The reason I started with this canvas bag instead of a tshirt, is that it was actually a Sharpie brand bag that probably was a free gift in the box with all the coloured markers.  

The finished bag, which I tumbled dry in the dryer to set the ink.