Mt. Rainier and Lenticular Clouds - Dec. 2008 copyright: JMM

May 21, 2013

Giveaway Wins!

I was so surprised to win three giveaways on Facebook.  Down at the bottom is a $10 gift card to a really cool store in Maine called Mexicali Blues.  Total Deadhead place.  On the top right is a sticker from Grateful Dead Books that I got for answering a trivia question correctly.  The top left set & Shakedown Street are from Parking Lots of Grateful Dead Tour's Facebook page.  They'd asked Deadheads to post their best picture taken at a Cal Expo show in Sacramento.


I didn't think I'd win with this one because it's blurry, but it's the full moon coming up from behind the stage during Drums, which, that evening, was extremely Celtic sounding and it was like Mickey & Billy were drumming up the moon.  As the full moon got to this point, they both hit their drums simultaneously & loudly, then stopped playing.  The crowd was so mesmerized that there was a beat of total silence in the arena, then the Deadheads went wild with cheering & applause, then the drummers started up again.  


I just love entering contests...I love winning even more!

May 19, 2013

Walkies

Trying to get in lots of walks before the heat and humidity of summer starts. Headed down to Onset one morning.  I still can't believe what a ghost town it is and the old houses and cottages are pretty cool.  I would love to live there.


I especially try to get out on Sundays now, to try and cheer me up after my honey leaves, usually around BBay as there always seems to be something new to see.  This tree reminded me of the Dave Matthews Band 'Fire Dancer' logo.

See what I mean?


In my neighbourhood


At Mass Maritime


I love this view!

West entrance of the Canal


May 18, 2013

Five Things that Make Me Happy!!

Magical Mystical Mimi did a Five Things That Make Me Happy meme the other day and I thought I'd play along, since the quality of my life is so much better since moving back east (though I do miss the scenery and climate of the PNW).

First, my man and our relationship make me so incredibly happy that I could burst.  He's very happy too, as you can see!  I think back on my prior long term relationships and two years in, things had become routine and somewhat 'blah'.  Not with this one.  I fall more in love with this man every day.

The furkids crack me up.  Baby Huey and Miss Thing.

Craft supplies of course.

The beach, beach combing and the sound of the waves not only makes me happy but relaxes me.

My stepchildren, our families and friends surround me with love, support and happiness!!!  My stepdaughter made my day when I got a 'Happy Mothers Day' text from her!!


Feel free to play along, and I'm also going to tag five bloggers as well:

The Crafter's Apprentice
Older Mommy Still Yummy
Suzanne's Tribe
Giggling Trucker's Wife
Life Is Good

May 17, 2013

An Almost-Epic Fail

I pinned this picture from Pinterest, of what looked to be an easy glass painting project, creating a Moroccan-style lantern out of a regular jar, puffy & glass paint or dyed Mod Podge.  I found this link HERE on how to make it.  I was, however, skeptical about the dyed Mod Podge technique, having tried something similar last year that failed.  I also knew I'd never be able to make this elaborate of a design!  This is awesome.

I went out and bought some gold puffy paint, which happened to have glitter in it.  I wasn't sure I necessarily wanted this particular project to be glittered but once it dried, I liked the way it looked.  I had to free hand this and it Wasn't. Easy.  

Thus, began four days of trial and all error, trying to paint the inside of the jar, which I decided to do in aqua, like the jar in the top picture.  Of all the examples I've seen in red, yellow & aqua, I liked the blue look best. First I started with Martha Stewart's translucent glass paint, and I even checked her website and read tips for using it before I started.  It was so incredibly runny that I stood out in the sun and wind for a half hour, turning and turning the jar, hoping the damn paint would start to coat the glass and dry.  I got sick of waiting so I put it upside down on paper towels to drain.  When I went back out, there was NO colour on the inside of the jar, it had all drained out.  I was pissed.  Her paints are expensive.  Do NOT waste your money on them....I bought a set of opaque and those suck too.  I tried again, using a little less paint but then it all pooled at the bottom.  Then I thought, OK, I'll just have to do this in 'stripes', laying the jar on it's side and squirting a line of paint from back to front, so that it dries the deep colour I wanted. It'd take a long time but I was willing to give it a shot. Well the two test stripes came out all uneven too.  Fortunately, I was able to peel the whole fiasco out without it sticking to the glass.  

I bought Gallery Glass Paint in turquoise, figuring that was close enough to my colour goal, and encountered the opposite problem.  It was too thick to run at all.  And by the way, using a paintbrush to spread it (or the Martha Stewart paint) around left terrible streaks.  I have a few glass painted pieces I've done with a brush and streaking is unavoidable.  I found the Gallery Glass Paint blog and inquired if I was supposed to dilute it.  They got back to me quickly and suggested I try sponging the paint on, and doing several coats till I achieved the shade I wanted.  OK, I got out my paint sponges and again, I ran into a streaking or stippling issue.  

This damn project literally had me up at night.  I would wake up in the middle of the night and the first thing across my brain was, 'how can I salvage this project?'  I should have been taking pictures of my fails but I just didn't feel like it.  It was getting tedious enough as it was without stopping to do photos.  I was also using a test jar for most of these experiments because I didn't want to risk a permanent mistake to the decorated jar.

Sooooo I went back to the original link, posted above, and tried the dyed Mod Podge, mixing it with some water to thin it a little and not as much as Martha's, putting green & blue food dye in, pouring it in the jar, and then placing it upside down on a cookie sheet in the oven to start to dry.  Yep, it all ran out again, leaving the jar with just a faint hint of colour.  I have researched the dyed Mod Podge on a few sites and either I am doing something wrong, or these people are full of crap.  It doesn't work, at least not for me.

By this point I'm ready to hurl the bloody thing, but it took so long to freehand that damn gold design, and I did like the way it came out, so I just went a whole other way with it.  I got out the red glittery glass paint I bought a couple weeks ago, and hand painted the scallops.  I also decided to bring the gold paint all the way to the top.  Perhaps if I had been able to get ahold of the recommended glass paint, Pebeo Vitrea 160, I could have done the aqua inside, but it's only sold on line and I just didn't feel like waiting, and none of the craft stores around here sells it.  


I did like the suggestion of using epsom salts in the bottom for the candle to sit in.

I also scraped off the acrylic confetti paint dots I put on these glasses a few months ago, and redid them with glitter glass paint.  I like how these came out way better too.

If I still had the receipt for the set of Martha Stewart paint, I'd return it to Michael's and get my money back. But I figured it would be good or was the best, because her brand of craft supplies is literally taking over.  I find that unfortunate.  She's pushing out a lot of other brands and I don't find her stuff to be all it's cracked up to be.  Just because it has her name on it doesn't mean it's any good.  My plan is to get ahold of some Pebeo Vitrea and try again.

May 15, 2013

Wordless Wednesday

Age 4, 1966 and Age 4, 1968

May 13, 2013

The Project Book

I've gotten so used to seeing my 3 ring binder Project Book over the years that I've ceased to actually 'see' it anymore, until the other day.  I decided to pull it out and take a look at some of the projects I've been saving since the 1990s.  I started this binder back in California.  A lot of the rhinestones have popped off over the years.

This sucker weighs a ton and is 4" tall.  (I have two other 3-ring binders that contain just pictures of beautiful arts & crafts. I call them my Books of Pretty Things).

All the pages are in page protectors, of course.  The first section of pages is just devoted to tips, techniques and stitches.  The rest of the book has all the projects.

So many jewelry and ornament ideas!!!  There are some that I know I lack the skill to make.  Like for example I don't think I'll ever be able to make Huichol earrings and they aren't at all in style anymore. 

I showed it to Russell, sighed wistfully and said, 'I always meant to get to these and never did.'  He goes, 'So what's stopping you now?'  Hmm...good point!!  I've been so busy doing Pinterest and internet crafts that I haven't made any time for these (although there are quite a few in here that I have done)!!  Time to fix that.

The first one I decided to do was a decorated vase.  I found the cobalt vase at the Whatchamacallit Shop on Easter for $3.00.  So I used the glass etching kit to put a sun on the front.  

Then I strung the coloured glass beads around it, added the drops and finally the blue and silver swags.


I swore I wasn't going to make any more jewelry till my current stuff sells but the instructions for this were really simple and I had all the supplies at hand without needing to dig too much.


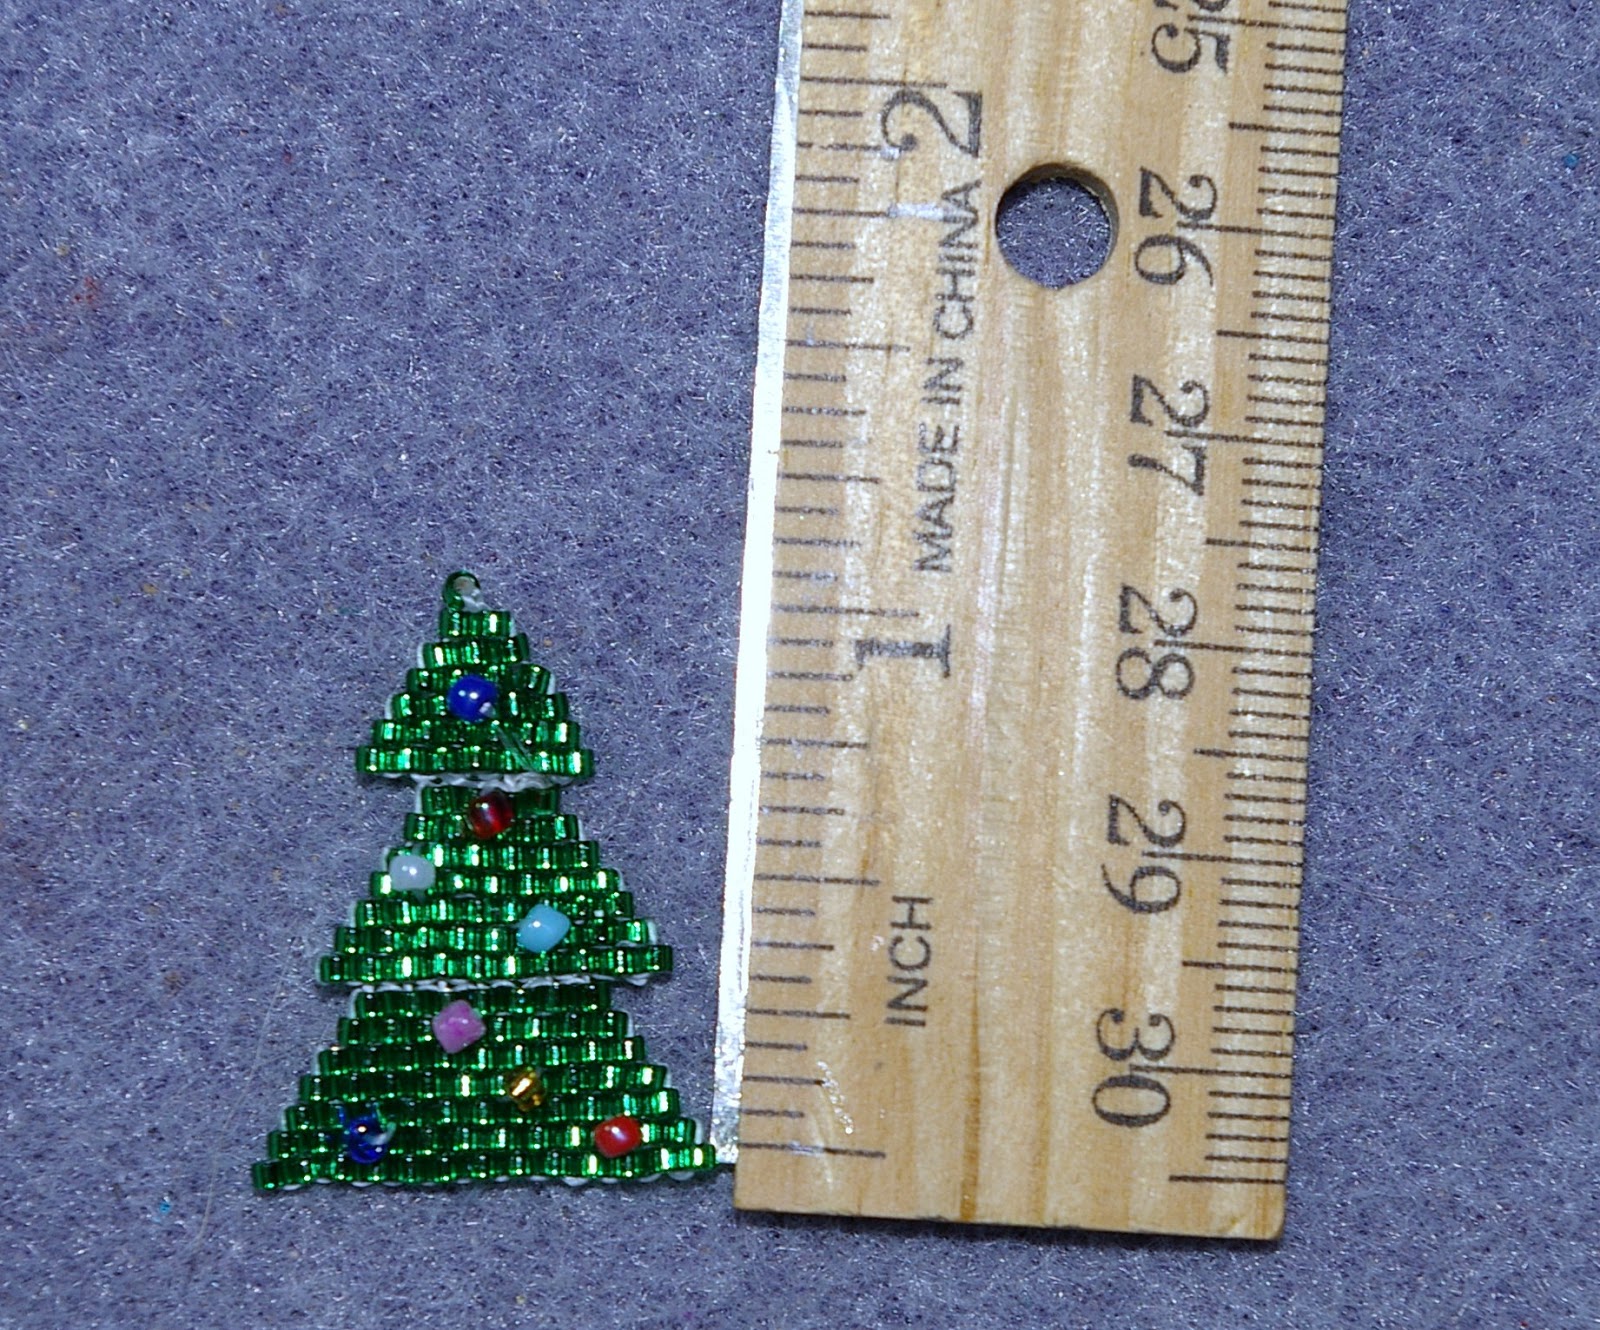
And then I made this Christmas tree 'one of a kind cause I ain't doin' that again' pin.  I now remember why I don't work with seed beads all that much.  It's tedious as hell.  I haven't done brick stitch in years and I was very clumsy at first & I nearly gave up a few times.  I also couldn't understand the instructions on how to increase the rows to make the tiers, so I ended up doing 3 separate pieces and joining them up the best I could. 

And here is a pic of it after the backing was put on (green felt).  I just need to find a small pinback for it.  I used a green marker to hide the white thread! 

That's a good start!  Now only about 200 or more left to go.

May 11, 2013

Glass Etching

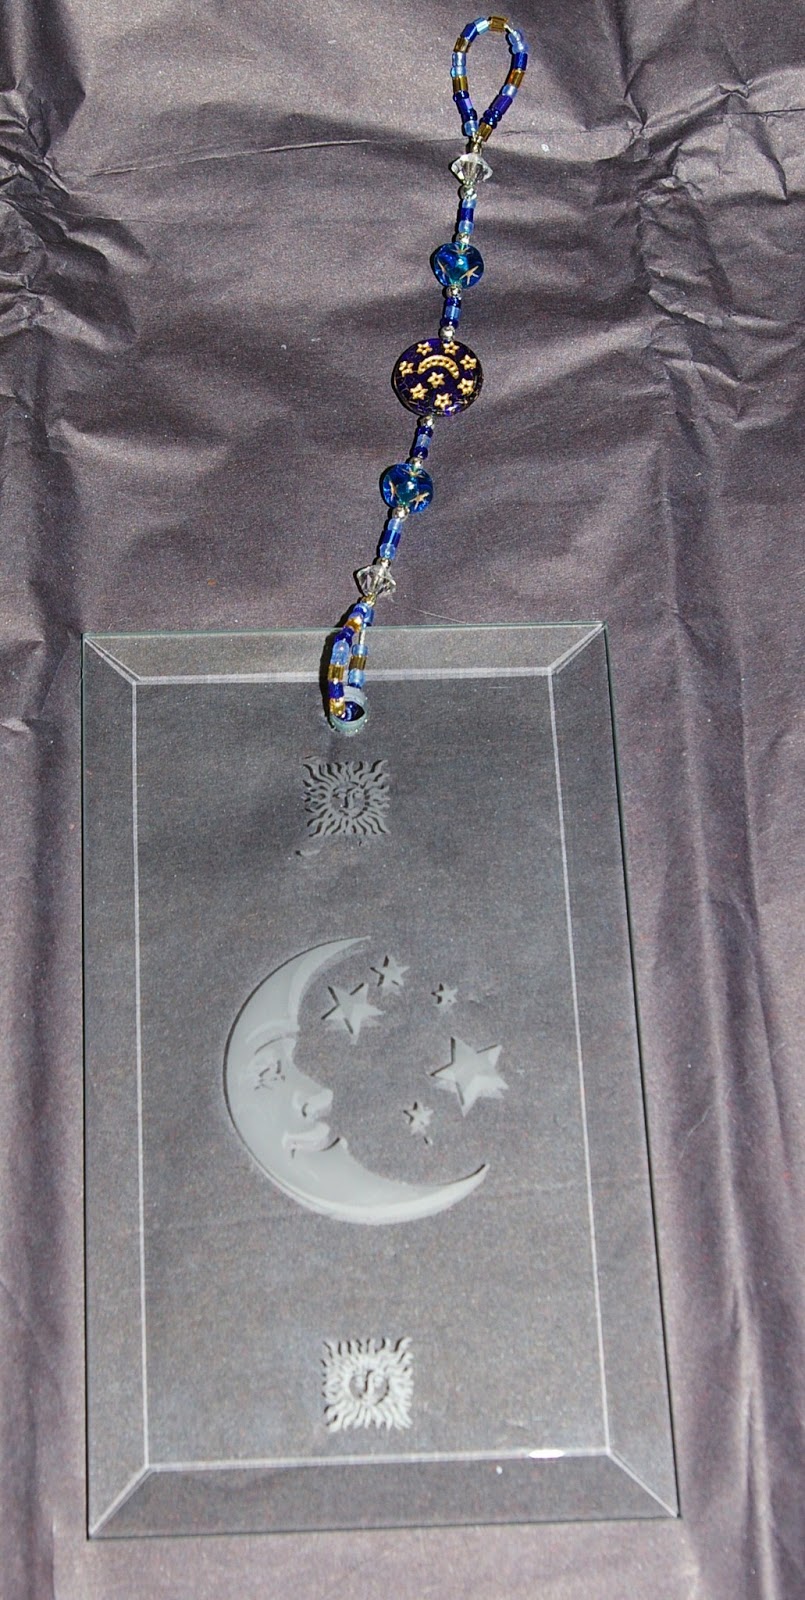
I couldn't wait to use the Armour Etch glass etching kit that Michelle sent me!  I'd used one like it about 10 or 12 years ago but my etching cream didn't survive the move east and I was almost out of stencils too.

This was the first one I made.

They are like potato chips....can't make just one.


I added beaded hangers to them too.

I gave this one to my mom for her birthday.


When I was spring cleaning and putting shelf paper in the kitchen cabinets, I found this vase that I'd etched in 2000 or 01.  I forgot all about it.  So I added an old necklace around the top of it.  I'm using the vase for beach glass.


I also tried the etching cream on some marbles but I wasn't crazy about the results.  I was hoping for a more  beach glass look but it didn't quite turn out how I thought.  The cracked glass came out the most frosted, but the crystals weren't.


I also tried the cream on a coloured glass bottle and it didn't work very well, even when I left the cream on for longer than the 30 seconds for regular glass. That bummed me out because I wasted a good stencil on it.  You can sort of see the design but not well.

Then I tried the stencils on some pretty polished geode slices that I found in one of my boxes the other day.  You can see the design really well here but as soon as you hang it up, it all but disappears.

Same with this one.  I am not sure if these are indeed geode slices or pieces of coloured glass made to look like geodes, but they sure are pretty.  I still have to drill a hanger hole in this one.

I have to say that I was disappointed when I went to Michael's Crafts to look for more stencils.  Apparently the Armour Etch brand is on its way out in favour of Martha Stewart brand.  It distresses me that she is literally taking over the craft supply industry and her prices are very high.  I am hoping to find the stencils on line.